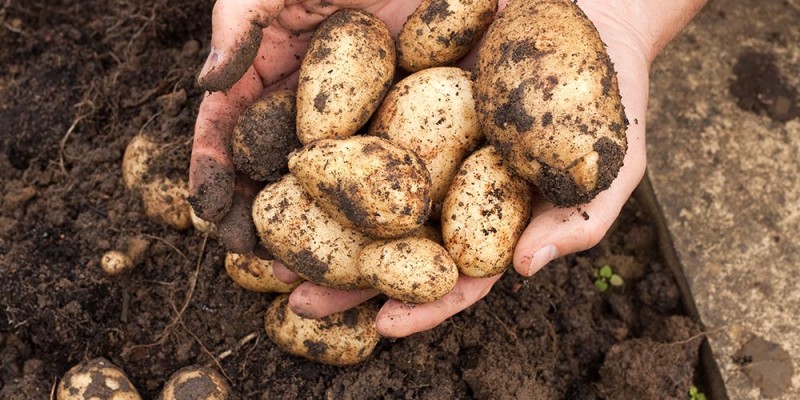
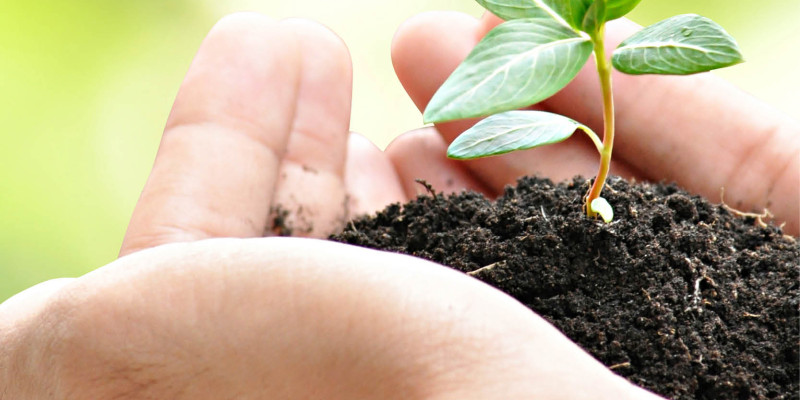
On todays episode we are going to show you how to make a leaf based compost with all free or recycled materials. The use of compost is one of the pillars of my gardening technique. Composted material including mulch helped me achieve a long term goal of requiring no store bough fertilizers in my garden last year. If done right the compost will continue to add to the nutrient cycle in the soil allowing for healthy beneficial organism growth and plant growth and disease resistance.
This fall I have been busy collecting leaves from my yard and some of my friends places. Leafs are a great resources for creating a hot compost. They are considered a brown ingredient for compost and usually is a free resource most people pay to get taken away.
When building the enclosure for the compost its important to think of a few things, air, size and access. The bacteria that are going to do all the hard work need air. Picking a material that allows for air flow helps keep them happy. I am using this plastic fencing that I had left over from creating my garden fence. Ill use some repurposed survey stakes to give hold it up initially.
Size is important. It may seem a little crazy to add a huge pile for a small area to fill. Don’t worry though the hot composting process we are about to undergo the volume will go down significantly. Speaking of hot compost in order to get a good sustainable hot compost going in the fall and winter you will need enough initial volume. The outer layers will insulate the core while it heats up and breaks down.
Access is important. The pile will continue to reduce in size allowing you to continue to add to it over time. Easy access helps with the continued addition to the pile.
When collecting leafs from my yard I tend to use a lawn mower. The benefit of doing this is not only does it take less time and effort but it breaks the leafs up and collects some grass which is a green component of compost.
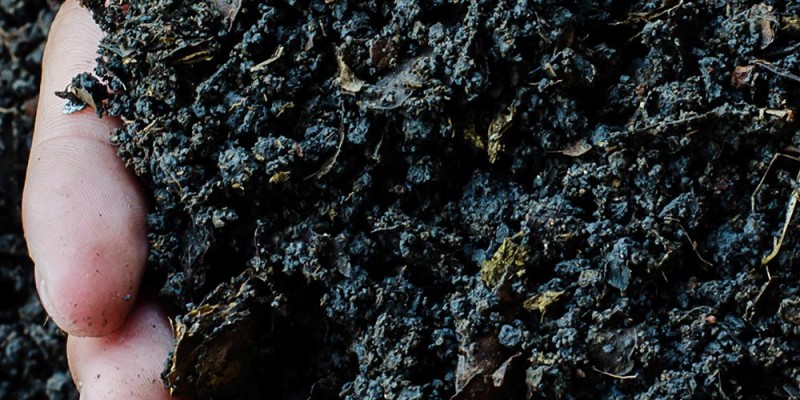
If you add Green and Brown ingredients with moisture and air you generally will get a hot compost. Green compost ingredients are typically nitrogen rich like grass clippings or household food scraps. Brown compost ingredients are carbon rich such as fall leafs or woodchips. There are all sorts of ratios and recommendations out there however I have found a simple 50/50 split based on weight works well for me. I tend to eyeball the weights and generally am not disappointed if I use a lasagna layer process.
When making my fall compost pile Ill add a layer of leafs preferably with grass clippings in there. There is generally not enough grass in there to get the 50/50 mix so I add used coffee grounds. These are a free resource I have spoken about a number of times and add Nitrogen Phosphorus and Potassium. Used coffee grounds count as a green component.
Alternating layers of leafs and coffee grounds will set the stage for a good hot compost.
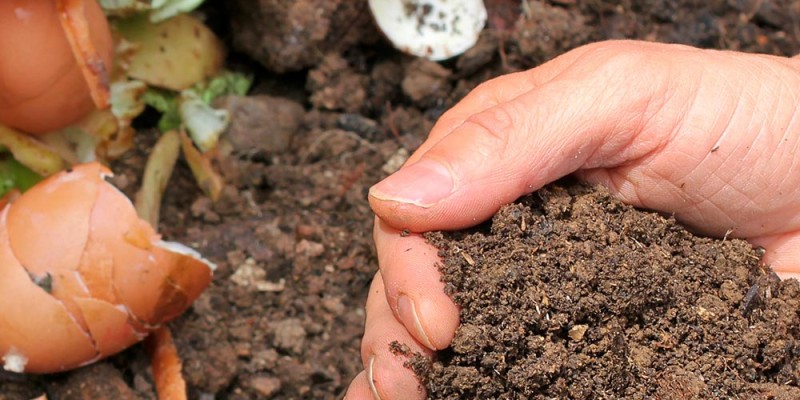
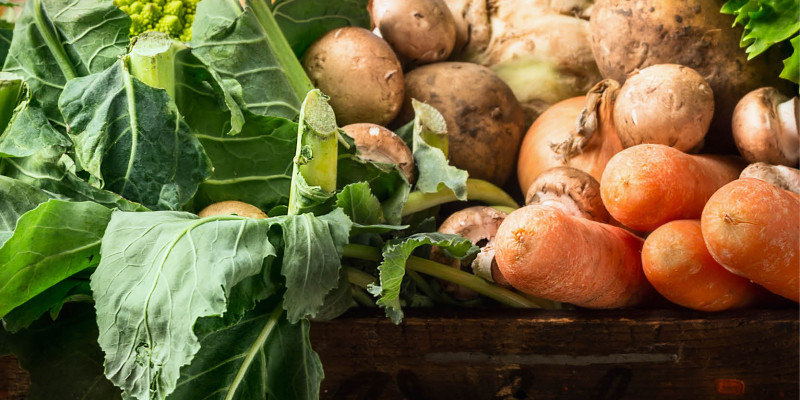
You can add other materials to the compost as well. I finished cleaning up my garden and had some spare comfrey and other plant material. House hold kitchen scraps can be added to the pile. You don’t have to worry about seeds and volunteers as the hot compost will kill them. I wont add too many kitchen scraps as they become a target for my local vole populations. Voles caused a lot of winter damage last year and with all of my new perennials I don’t want to attract them any more then I already do.
Eggshells are a great addition to the pile. One of the key ingredients in soil to healthy plants is calcium. Eggshells are made up of calcium carbonate and break down to the component elements releasing calcium into the soil. For faster results you can grind them into a powder I choose to simply crush them and add them to the compost as small shards. You can also add bone meal to get the same results.
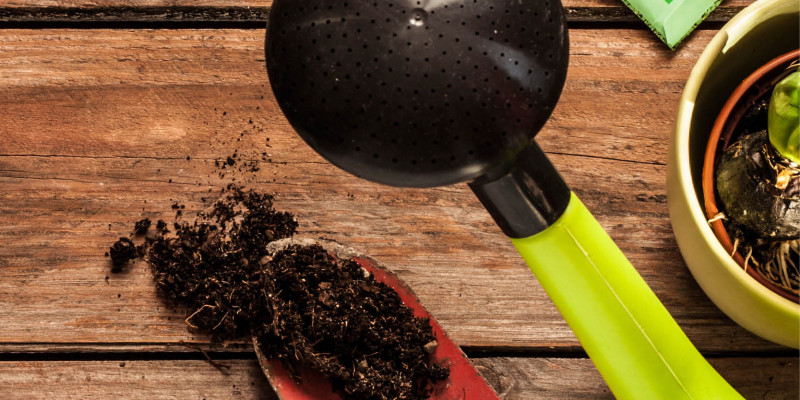
Now that we have green and brown layered in the pile its time to add water. Water plays a key role in the decomposition process. Without sufficient water the bacteria doing all the work will shut down and die. It is important to not let the pile dry out. If you have a fall like ours which is dominated by sunny dry days try watering it when the first 20-30 cm are dry. During the winter the heat generated by the pile will melt the snow providing this for the most part. If you have poor drainage be careful not to over water as this can stop the composting process as well.
In 2 – 3 days if you have done it right the compost core should be heating up. The compos will continue to heat up and then level off and cool off. Once back to the soil temperature the process is complete. You can mix the whole pile to add oxygen and restart the hot composting process again. As this will likely be in the depth of winter I will do this first thing in the spring.
If you live in a higher growing zone you can insulate the compost pile to prevent freezing to the core allowing you to over winter things like red wigglers and keep the process going. Unfortunately here in Zone 3 without the help of a heater keeping this pile from freezing is not going to happen. That said there is an added benefit to the freeze thaw cycle for the compost. It will break the component materials down on a cellular level further advancing the composting process.
This compost and material cost nothing by using free resources or recycled ones. It will become a great soil for growth and likely rich enough to not need any supplemental fertilizers. Now its time to leave it until spring and let the magic of compost happen.