Espalier is an ancient method of shaping a woody plant to fit certain spaces. Traditionally these are fruit producing trees and they are shaped using trellis and support to fit into a two dimensional space. It is a great method to fit fruiting trees in small spaces such as against a building or fence.
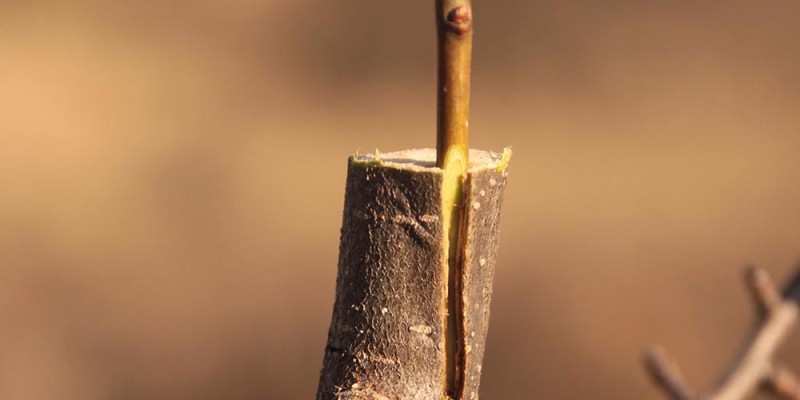
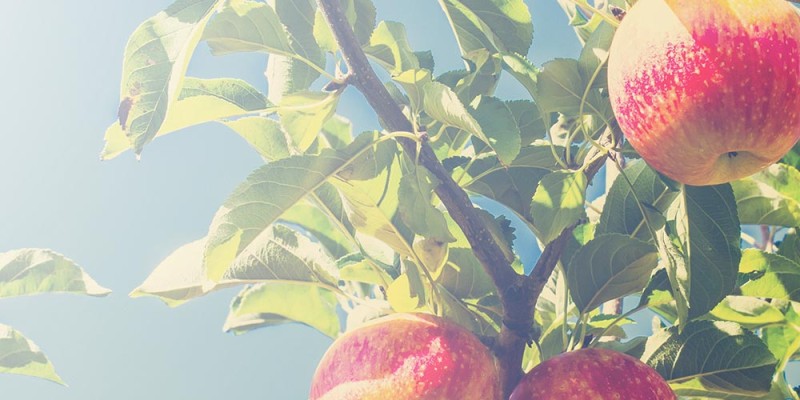
Apples require two varieties to cross pollinate each other. Often it is sufficient to have an apple tree in the neighborhood. In my case there is more than one variety of apples on the same tree. This is done through a process called grafting, where a bud or scion from your desired fruit is attached or grafted to another tree.
Grafting is most commonly done with different varieties of the same crop however it can be done with plants of the same family. For instance I have successfully grafted a pear scion to an apple tree. Unfortunately your chances for success are low if you are crossing fruit tree families like stone fruits with apples or pears.
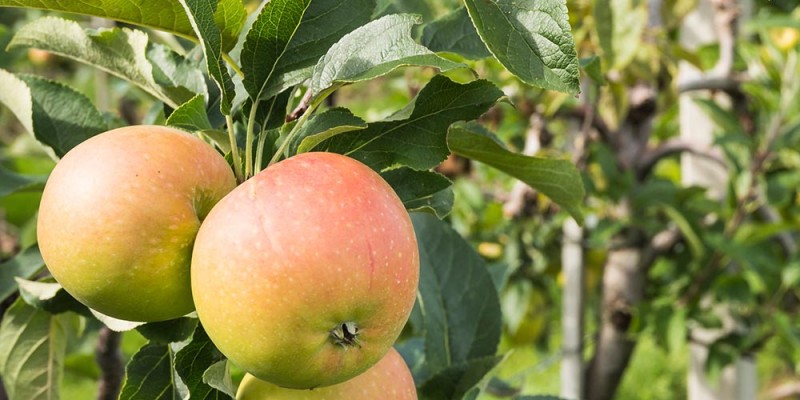
Espalier fruit trees are becoming more and more common to the point where I found mine at a local big box store and it has two of my wife’s favourite eating apple varieties. You can do it on your own as well using pruning and training methods. If you start from a juvenile plant it will take a few years to train and during that time fruit production will be low.
When planting an espalier tree you will need to think about sun exposure and the supports the tree will need over time. Most fruit trees are require full sun. Make sure to select an area you can support the tree and that gets more than 6-8 hours of direct sunlight in the summer.
Usually in store they are unsupported however when the plant has a crop on it and gets larger you will want and need that support to prevent damage and continue to train the shape.
I will be planting the tree just over 30cm or 12 inches from the fence as I will be extending the trellis that far out from the fence to provide the plant room to grow and easy airflow.
When planting perennials it is important to give them a good home. In my hard clay I will dig the hole 1.5x – 2x larger than the container diameter and 1.5x deeper. This will give us space to add lose compost that will allow the plant to push roots while providing it nutrients until it is established.
I usually fill the remainder of the hole with compost however you can mix in your native soil if you do not have enough compost.
It is important that the trellis supports match the existing branch levels. In order to do this I will build the trellis after I have dug the hole but before I finish planting the tree. Dry fitting the tree in the hole will help me set the heights for the supports and leaving the hole open allows us to make final adjustments.
I start by attaching two 2”x6” 10 feet apart vertically on the fence. Making sure they are level before attaching them. I use one screw in top and one on bottom to allow for adjustments.
I will need room behind support piece to attach the nut to the bolt I will be using so if you don’t have that a spacer will be required.
Once the fence supports are installed it is time to set the heights of the bolts. I will be using 12” eye bolts to attach a wire similar to my grape trellis I built last year.
Using a long level I set the mark of for the lowest branch making sure the branch itself is level before setting the height.
For the remainder of the branches measure the distance between the lowest branch and the next branch. This will make sure they are all horizontal and parallel to each other.
Mark the corresponding heights on the center of the support board. It is important to make sure you are marking the center of the board consistently. I usually measure to make sure.
As long as the other sides branches come out from roughly the same location as the original side you can use the first one as a template.
I will be using ½ inch eye bold that is 12” long or 30 cm to support the wire. In order to attach them to the supporting boards you will need to dill ½ inch hole on the locations we have just marked.
Thread your eye bolt using nuts and bolts on both sides to securely attach them.
Once all of them have been installed it is time to run the wire. I get coated wire to help prevent rust and physical damage of the plants when they rub against it. Loop the short end through the opening and wrap it around the longer end a few times. Loop it back again and go the opposite direction. This can be repeated until you are out of wire on the short end.
I then run the wire behind where the branches will be to the corresponding eye bold and repeat.
Run all of the wires before you finish planting the tree.
As you are finishing the planting process make sure to adjust the tree so that the branches near the main trunk are level with the wires and the main trunk is parallel to the supports.
It is time now to attach the tree to the trellis. I use reusable Velcro ties however a variety of things will work.
Now that your espalier tree is safely attached to your new trellis it is time to enjoy the benefits of a fruit tree in what could be a small space.
Espalier trees do require a little more pruning in order to keep their shape and size. I wont worry about this in the first year however next year I will need to make sure I keep on top of it as it will not only keep a nice shape but promote a healthier tree that will result in heavier crops.
Make sure to keep the roots moist as it establishes. Adding a mulch layer is also a good idea to help prevent evaporative loss while providing a food source. I have selected a wood mulch as it breaks down it will promote mycorrhizal fungi associations that increase the nutrients the apple tree has access to.
If you don’t have a yard or can’t commit to a permanent trellis espalier trees due to their size can be grown in containers with temporary supports such as a bamboo frame.
Hey Alberta Urban Gardener,
Great video! I’ve been researching Espalier for a bit because I want to do some in my back yard. I have a few questions, hopefully you can help.
First, in some of my research I found that historically they were done against brick because the brick would help raise the temperature. Since you are doing it against wood are you going to have to protect the plant in someway during the winter?
Second, I am interested in Cordoning them so I can get as many fruit trees in one spot as possible, have you seen any good how to’s on that or are you planning any?
Finally, are you able to go more into the pruning? Perhaps in another video as they get bigger 🙂
Thanks for the great content, your videos keep getting better and better!