It is time… it is finally here! It is time to start your seedlings for this upcoming growing season!
Seed starting not only helps me manage my excitement about the upcoming growing season it can actually help save you money as well. Today I am going to go through how I grow seedlings inside to get a head start on my season and methods I use to keep the cost down.
In the last instalment of the Urban Gardening Series I addressed lighting sources and my preference for using the natural light. If you missed that episode i will put links in the description below and at the end of this video.
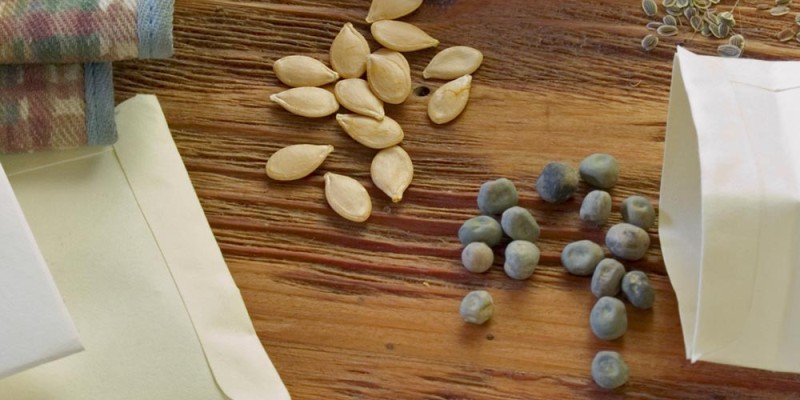
The only cost in addition to the lights is pots, soil, seeds, and water.
One of the ways I keep the cost of my seedlings down by recycling pots, saving seeds and using recycled water used to wash other veggies. This essentially reduced the cost of each seedling to the cost of the soil I put in the pots.
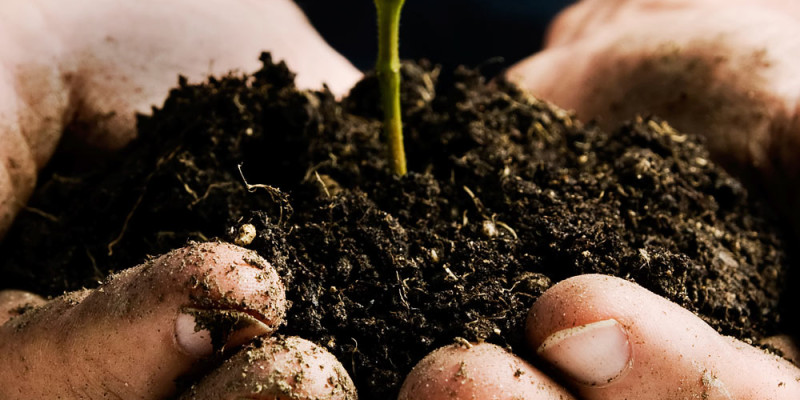
I get my potting soil and compost for about 0.50$ a pot. I do have to get 200 litres (52 US Gallons) in order to reduce the cost through the scale of economy and catching the products on clearance at the end of the season.
Normally I try to make everything in the garden myself using free and local resources however I chose to purchase potting soil for seed starting for one main reason. While I am an advocate of do it yourself pests indoors can destroy your entire investment quickly. Outside the natural ecosystem can keep pests in check whereas indoors pests can run wild.
I have mentioned before that often the shipping process kills or reduces populations of bacteria and fungi in the product. The same is true for larger pests such as fungus gnats. They are often significantly reduced in population before it gets to my house. In order to ensure I don’t end up with an outbreak of insects in my house I store the products in my garage that gets fairly cold during the winter and hot during the summer.
If you anticipate an issue with your potting soil you can pasteurize the soil before using it. While this is energy intensive I feel this is one of those cases where compromise may be required in order to meet my overall objective of growing my own food for as little as possible.
Once you have the soil, equipment and light it is time to start seeding… well almost.
Now it is time to backtrack to that list I had mentioned in earlier segments in this series. As i mentioned earlier finding out your last frost date will help you know when to plant you’re seedlings. My average last frost date is May 16th. [1] (For other towns in Alberta check the description for a link)
The second piece of information you will need is how far in advance of you’re last frost date you need to start your seedlings. The simplest way I have found is to look on the back of some seed packages if you don’t have that you can always checking out the seed starting schedules in books like Square foot gardening or on the internet. [3]
Often these dates will mention a number of weeks before the last frost date. I just count back the weeks to figure out when I need to start different crops.
I like to write down even the direct sow seeds in the garden. From now until June Ill have something to plant on a frailly frequent basis.
Crops you can start any time:
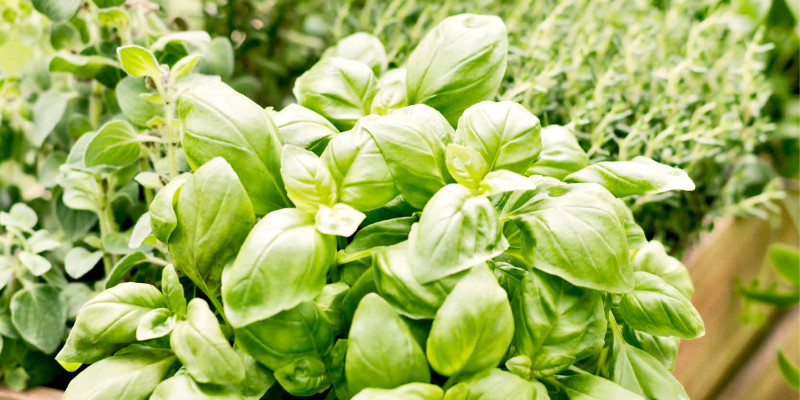
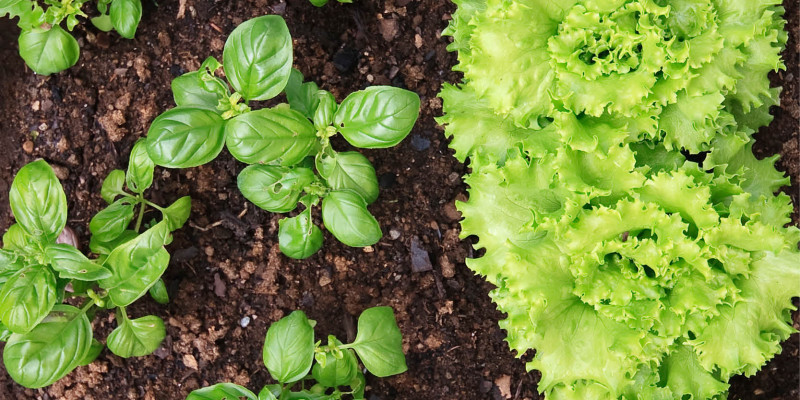
There are a few crops you can start any time such as herbs, leafy greens and peppers. Herbs and leafy greens can be started and harvested indoors at any time. I started mine in December after I put up my growing shelf.
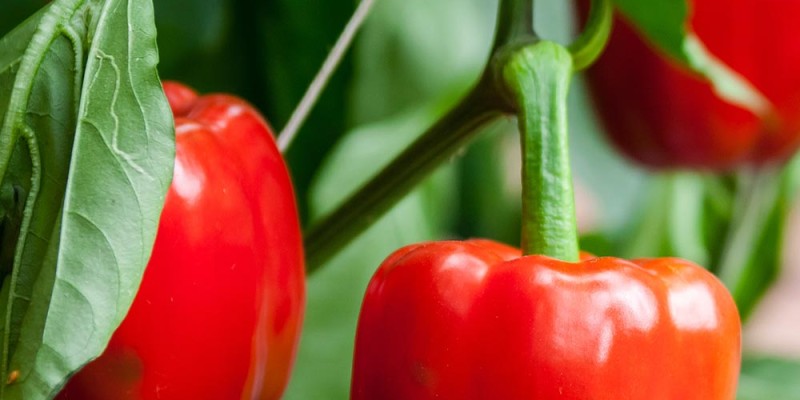
Peppers can also be started any time. I usually start my peppers when I get that first itch to grow something usually around christmas. Peppers can be pruned to keep under control while developing a large healthy plant and go on from there. [2]
The last date I usually start peppers is the minimum time before the last frost that is found on the seed package. Waiting too long for them may result in you not having enough time to get a crop out of the plant before the fall frosts hit.
Succession Plantings:
If you are looking at some seed packages there may be some other recommendations for timing.
Some crops even here in zone 3 can be planted and harvested a number of times. Crops like radish, peas and carrots can often be planted more than once. On the seed packages for these crops they will often refer to a schedule such as ever 2-4 weeks.
I take full advantage of these crops putting them in areas that are not being used and successively harvesting them.
Winter Plantings Another odd planting schedule you may see is two seasons. Some of your cold hardy crops will have two planting dates one in spring and another for the fall. I will be making a second list for my second round of plantings for my winter garden.
Now that we have our planting schedule its time to start you’re seeds!
How to start Seedlings
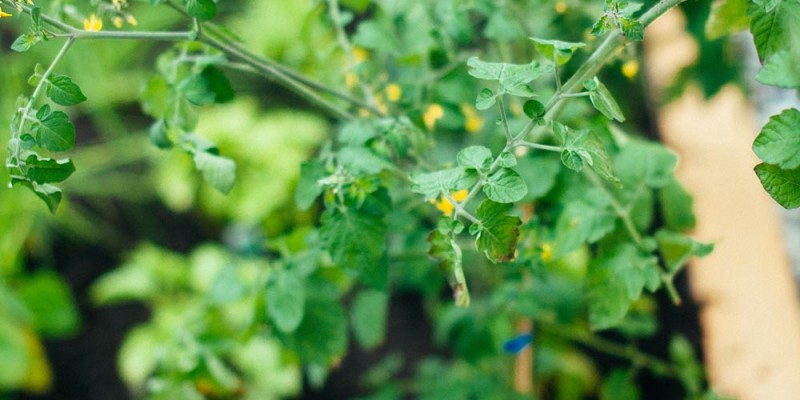
Seed starting is usually fairly simple. Unlike the herbs from part 4 crops like tomatoes and peppers only really need a few seeds to be planted. I usually do more than one just in case not all of them germinate.
How to Thin Seedlings
After the seedlings germinate if you have more than one it is time to thin them out. I usually wait until at least a few have their first set of true leaves. These are easy to identify as often they are the second leaves you see and they generally look different than the first ones.
Thinning seedlings although probably my least favorite task is essential for ensuring your plants are good and strong. If you leave more than one seedling in the container too long they may compete and stunt each other’s growth.
Thinning is fairly simple. I usually take a sharp scissor and take the smallest or least appealing first and move up from there until I am left with the largest healthiest looking seedling.
Watering
Watering indoors is very important but needs to be done less frequently than when the plants are outside. The lack of wind and direct sunshine usually means you can go longer between waterings.
When the pot feels light when I pick it up I bottom water the whole tray. Bottom watering is said to encourage deep root development. I do not have any research supporting that statement however I bottom water for another reason. Diseases and pests like fungus gnats often get established when the surface of the soil stays wet for too long. Watering from the bottom of the pot reduces how long the surface stays wet.
In addition it reduces the leaching of nutrients from the soil as the water needs to be wicked up instead of draining down.
This method means I don’t have to move each plant in order to find out what needs water. Plants that don’t need water wont suck it up when there are plants in the same tray that do.
it is important that the drainage holes in you’re pots are as low as possible so they can access the water. In order to avoid over watering I usually start with 2-3cm or 1 inch of water in the tray. If it is sucked up in a matter of moments ill add another cm or two. I make sure there is a full drying cycle in between watering. Keeping roots soaking wet is not great and other diseases can get established.
Fertilizing
I do not usually need to fertilize my seedlings during the winter. I mix 1 part soilless potting mix with 1 part compost. The potting mix holds water while allowing free drainage and the compost feeds my seedlings.
If you do not have access to compost but do have potting mix I would suggest planting you’re seedlings and not use any products unless you absolutely need to. If you are anything like me I check my plants every day. If I noticed any different colours in the leaves or stems after a little bit of research I may refer to a fertilizer if I can identify the issue.
I think many of you may be surprised how long you can go without fertilizing your seedlings.
Rotating the Plants
When you are growing in a window or even under lights the plant will respond to the single direction of light by bending towards it. In order to prevent what happened to these peppers while the seedlings are young I rotate them 1/4 turn each day. This becomes less of an issue as the plants mature.
Flower Removal
If your plants try to flower like this pepper plant is you can let it go however you will sacrifice plant vigour and size for the crop.
I usually remove them if I plan to use the plant in the garden.
If your leafy greens or herbs get a little large there is nothing wrong with having a little snack!
If you have questions about your seedlings feel free to ask the community over on the Alberta Urban Garden Facebook page or in the comment section below.
Related Videos
The Urban Gardening Series Playlist:
Growing Indoors. How to set up a Grow Room with Grow Lights.
http://www1.agric.gov.ab.ca/$department/deptdocs.nsf/all/agdex10 [2] Pepper Pruning Method to Develop Strong Fast Producing Crops
[3] Seed Starting Schedule