Last week I spoke about how who I plan my orchard of food producing perennials. Near the end of that video I spoke about the fact that you can increase the number of varieties you have through a process called grafting without having to plant another tree.
Today I am going to go through collecting and graft new varieties to my existing plants.
Combination Fruit Trees
Most garden centers will sell combination trees. They are often a little more expensive but have a number of varieties already on one tree. In addition to the extra cost you don’t get to pick the varieties and often these types of trees are limited to a few select types of crops such as apples. So I have decided to start with fruit trees I like and find others that I enjoy to graft to my parent tree.
Grafting with in the Family
You can graft to any fruit or nut producing trees. You can even graft fruiting wood from other crops such as a pear onto an apple tree. They are members of the same family. Unfortunately grafting across families does not work super effectively. For instance your success rates are likely going to be low if you try to graft something like a cherry to an apple tree.
Definitions
Before we move onto the methods I would like to define a few things. The tree you are starting with is considered the “root stock” whereas the wood you are grafting to it is called a “scion”.
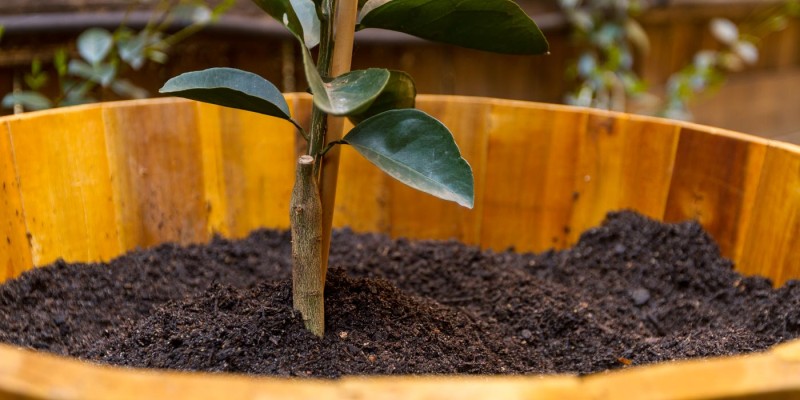
When the rootstock plant is ready?
You can graft to any healthy tree however if you have the opportunity wait a year or two after planting it. This will let the tree get settled and improve the chances that the graft will be successful.
Scion harvest
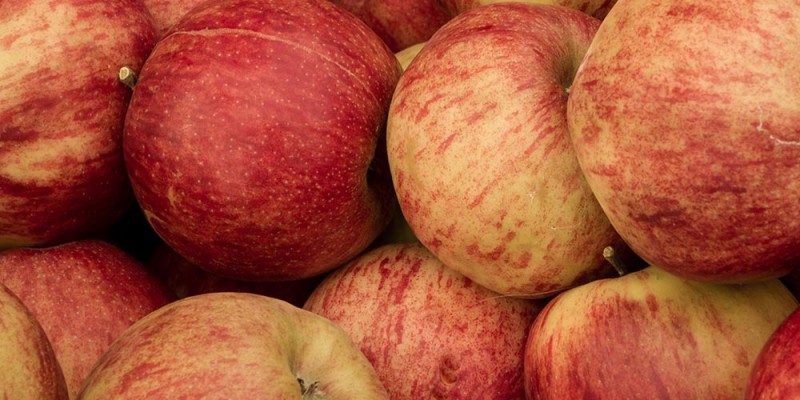
I have been trying varieties of different apples in anticipation of grafting them to my tree. Having tried a few from a good friend of mine I am going to graft it to my tree. For the best chances of success pick scion wood from trees that grow in your area. By selecting local trees you will make sure they are hardy enough to grow on your tree.
If you do get the chance I like to taste the apples before I graft them to my tree. I want to make sure they are ones I really enjoy.
After you have settled on the variety you would like to graft to your tree it is time to collect scion wood. The best time to do this is when the plant is still dormant in the spring. You will want to collect wood that is less than a year old. Generally those are branches that are less than the diameter of a pencil.
I collected mine in mid-march just after the snow melted however before the buds began to swell.
I look for straight scions with limited or no side branching.
Storing Scions
Storing scion wood is fairly simple. You want to prevent them from getting warm and drying out. So I put them in zip lock bags in the crisper drawer in my refrigerator.
When taking them out I make sure to try to keep them cool until I am actually grafting with them.
Grafting Tools
There are plenty of tools out there for grafting. When I am grafting I use the following tools:
Sharp pruning shears, grafting wax, lighter, flagging tape, pen, a sharp utility knife and grafting tape. Depending on the technique used you may also need a fine tooth saw.
Grafting techniques
There are plenty of grafting techniques with including, Whip, Cleft, Side, Bud and Bridge graft. Before I do any grafting I like to research the techniques just to make sure I am refreshed. Sites like the University of Minnesota do a great job outlining the methods. [1]
The best time to graft is when the root stock tree is just leafing out in the spring. This time is ideal as the sap is running and filled with nutrients that will speed the healing. Any time before or after may result in a higher chance the graft will fail.
When grafting to a smaller root stock a cleft graft is the simplest method I have found to be successful.
Start by pruning the root stock. Making sure the cut is clean and there is no tearing in the outer layer of the wood. This layer is the cambium layer and is where the magic happens. I like to select an area that is roughly the same diameter as the scion I will be using. If you don’t have access to an area like that it is no problem you just may want to select another grafting technique.
Take your scion wood and find the lower end. Buds point in the direction they are going to grow. It is important to graft them the same way on the plant as inverted the plants physiology will prevent the graft from working.
Cut the last 2-3 cm or 1 inch off as this is the area that during the storage in your fridge may already be dead or damaged. Cut the top as well making sure you have 3-4 good looking buds on the scion.
Cut the scion wood so that it forms a wedge. It is important that the top of the wedge start at the same place on both sides.
Judge the distance down the root stock the wedge will fit and slowly cut down the center of the branch. Rocking it back and forth slowly will help prevent tearing and keep the cut nice and clean.
I usually cut just past where the wedge will fit.
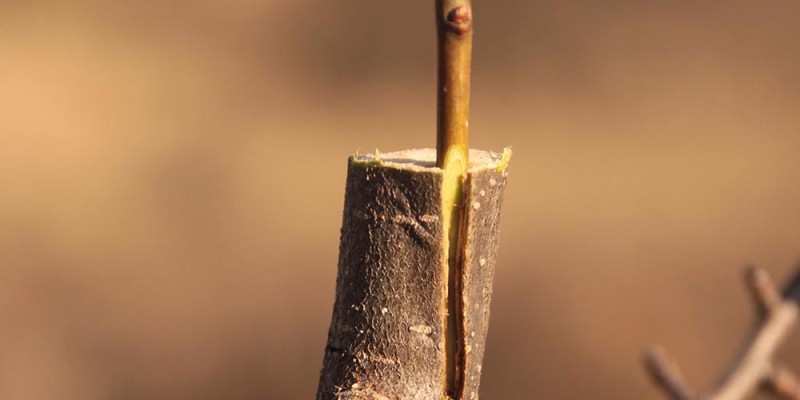
It is now time to put the scion wood in the root stock. Slowly and carefully pry the cut open using your knife and insert the scion. Again slowly rock the scion further into the root stock.
You will want to line up the cambium layer on both sides if possible. This is where grafting to a point on the root stock that is the same diameter as the scion is important.
Once you are happy with the location of the graft it is time to seal it all up. The goal is to not only secure the graft but much like a cut on yourself protect the wound from infection until it can heal.
I am using this grafting tape as it will last just long enough for the graft to take and I don’t have to watch it. If you use say something like electrical tape make sure as the summer progresses watch for the graft to bulge. Once bulged carefully cut the tape to relieve the pressure. This grafting tape will decay about the right time and eliminates the need for this step.
If you have a large wound you can use grafting wax to seal the wound as well. I like to use it on the tip of the scion wood to help prevent drying out. I heat the wax up with a lighter to make it easier to apply.
Bud Grafting is another fairly simple technique you can use to add another variety to a tree. Simply cut out a notch in the root stock and replace it with a desired bud from your scion wood. This method is often preferred because it causes far less damage to the root stock and integrates seamlessly.
Successful Graft and Time to fruiting
You are done grafting and it is time to wait and see if your graft is successful. It will be a few weeks until you will see growth on the scion. Remember you harvested and extended its dormancy period in the fridge.
Most grafts will take a few years to get strong enough to produce flowers and fruit. Usually the minimum amount of time is 2-3 years. After that you will be able to enjoy many more years of more than one variety on one tree.
It is important to label the grafted location. What works well is flagging tape and a pen. Alternatively you can always just enjoy the surprise later.
Benefits of grafting (fertilization, varieties, harvest time)
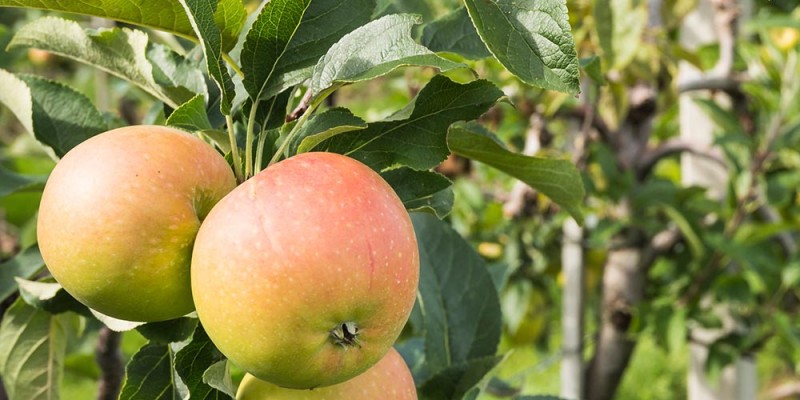
Grafting new varieties to your plants is not only fun and helps increase the varieties of fruit you can grow it increases pollination of the crops and can stager your harvests out. This honey crisp ripens in late September while this Harcourt ripens in August. If I grafted this honey crisp to this Harcourt I could have one apple tree that produces more apples over a longer period of time!
[1] University of Minnesota Grafting Resources Site:http://www.extension.umn.edu/garden/yard-garden/fruit/grafting-and-budding-fruit-trees/
Related Episodes
Grow More Food with Perennial Fruit and Nut Bushes, Vines and Trees
https://youtu.be/fgQZNpZf0CQ?list=PL5mfR-r4BXH0wwN-9IQ–WX-C-4JqTR-7
Grow an Espalier Style Apple Tree. Perfect for Small Space Orchards
https://www.youtube.com/playlist?list=PL5mfR-r4BXH2zbHVmcbp8if3JJf25D7jt