Starting with the best possible soil can save a lot of time effort and pain in the garden. I used regular top soil when I first filled my garden beds and suffered for years pulling weeds and dealing with compaction issues.
This week we take the compost pile we started in April and use it as the basis for our new garden bed. http://youtu.be/2eDKqhhr_iA
After some heavy lifting and aerating the compost pile and moving it I made the decision to grade it South towards the sun. This should help get a little more direct sun in the winter to help our long term growing. The larger un-composted materials you will want to keep near the bottom. The first year there may be a nutrient draw down caused by the un-composted material breaking down. That is alright in my books. Over the long term it will provide nutrients to future plants for years and years to come.
The next level was cardboard which should help prevent the volunteers from coming up from the compost into our new garden soil. Most paper products should work you just want to avoid anything glossy.
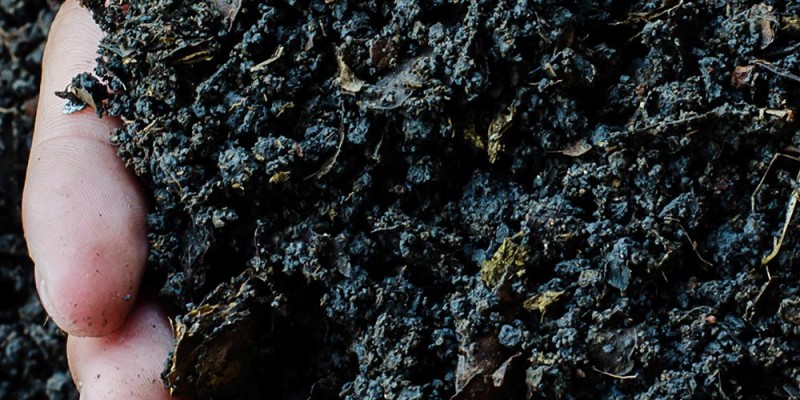
The expensive part of starting with the right soil is the compost and peat you need. I chose to use a number of types of compost from a variety of sources to create a better blend. I used composts that were based on vegetable, bark, leafs and fish waste.
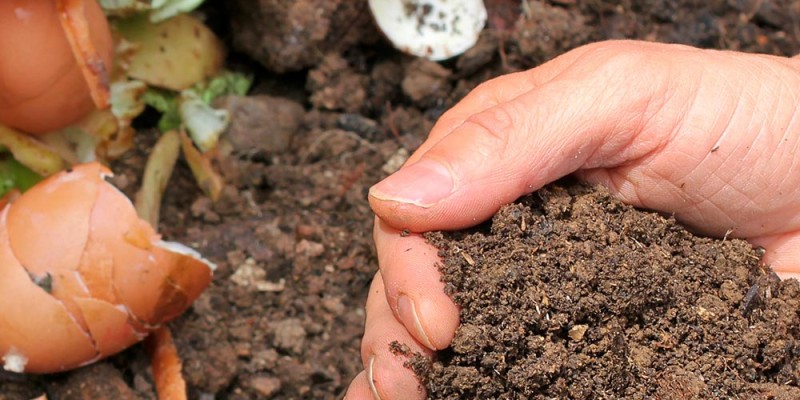
Finally I topped it off with with mulch. In the spring it is tough to find dried leafs so I used dry grass, coffee grounds eggshells among some other great stuff. The mulch will help with moisture retention and bringing in the worms we want. Following this video I included some worm casting including Red Wiggler worms as well.
Worms are the key to this method. They will assist in the break down of the organic material and inoculating the beds with beneficial microbes.
in future years Ill just plant in the same soil with out turning the bed at all. The worms will bring the air year after year as long as I add more mulch to the top they will be happy campers helping out my plants!
Next Ill show you my planting tradition 🙂
