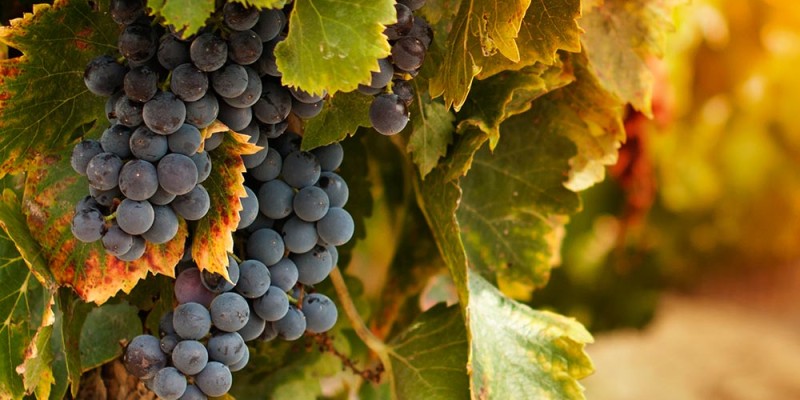
Melons are one of the crops I have attempted to grow a number of times over the years. I absolutely love fresh watermelon or cantaloupe and can only imagine how much better one grown in my garden would taste.
Melons are heat loving crops that often take a long time to grow and ripen.
So when I grow melons I am definitely pushing the boundaries of how far north they will grow.
So this year I thought I would attack this problem by combining some techniques to grow melon crops in low growing zones.
Location
Growing location is very important when growing melons. The more sun the plant gets the better chance we will have of harvesting at the end of the season. So I selected the location in my garden where I get the most sun. The benefit we have growing this far north is during the summer solstice we have 17 hours of sunlight essentially packing in a few extra hours of growth in each day.
The second component to location is the raised beds I grow in. On average raised beds have higher soil temperatures warming up faster in the spring.
Compost
Melons prefer warm soil temperatures to germinate and grow well throughout the season. This is likely the problem that has plagued me in the past.
So I started with a pile of nice warm compost as soon as the pile thawed in the spring. This compost will continue to release heat for a few weeks as the material decays keeping the soil temperature higher. It will also add nutrients to the soil as the season goes on feeding the melon plants.
Rocks
The sun even in winter can warm surfaces melting snow when the air temperature is well below the freezing mark. Those locations heated by the sun can often continue to melt snow after sunset.
I placed a number of black rocks around my compost heap that my father had brought for the sub-arctic. These stones helped increase and keep the soil temperatures higher after planting. When the summer heat hit the melon plants are large enough to shade the rocks reducing their ability to overheat the soil.
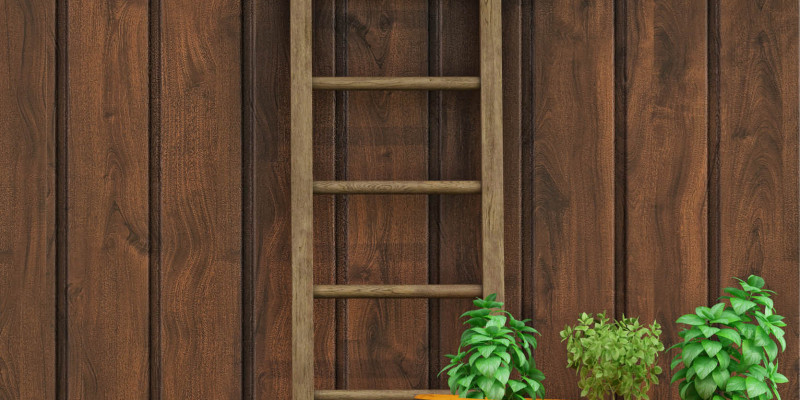
Hoop house
Finally before planting I placed the hoop house I used for my winter crops over the planting location. During the day when the sun came through it acts as a miniature greenhouse helping to warm the soil, compost and rocks. When closed at night it preserved the heat and prevents frost damage. It is important to open a small air vent during the day after the melon plants have sprouted as the air temperature can increase quickly and damage the plants.
Planting
When it comes time to plant I place a pocket of soil at the top of the compost pile and plant a number seeds directly into the soil. You can start seeds in the house and transplant them out once the threat of frost had past however I found the seedlings are very sensitive and the transplant shock set them back further then seeds that are directly sown.
Variety
I made sure to select a variety with the shorted days to harvest and that was relevantly small when fully grown. The short season to ripeness will help me try to outrun the inevitable frost and the small fruit size means I would not need to support the fruit when grown above the ground. Later Ill talk about how this helps me determine when they are ripe as well.
Water
With all the focus on heating the soil I did find it important to make sure I kept up with the watering. It was not difficult but worth a mention.
Removal of the Hoop House
Come June the plants had grow sufficiently to need more space than was under the hoop house. At the same time night time temperatures were well above 10C or 50f so I removed the hoop house leaving the stones in place.
Vertical benefits
Melons are vining crops and if allowed to grow long the ground would compete with the rest of my garden plants in my densely packed garden. So I chose to grow them vertically using a simple tee pee trellis.
This trellis is very simple to build. Take 4 or 5 long bamboo stakes and make a teepee structure. I chose 6 foot stakes as after they were placed in the soil 30-45cm or 12 – 18 inches there was still sufficient height for the plants to climb however they were not going to significantly shade their neighbours.
Make sure the center of the peak is in the center of the circle as this will help distribute the weight evenly. Tie the peak of the trellis using nylon string or Velcro tape. It is important to weave it over under and around each of the stakes.
Finally I used the same nylon tomato netting I used for the electrical conduit trellis. It is extremely strong wont decay over the course of a season and is a nice green colour making it hard to see during the growing season.
I simply wove it in at the peak blanketing it around the teepee and used Velcro tape to keep it down before the plant could climb it.
Alternatively you can use an electrical conduit trellis or any other structure you can attach the vine to without damaging it.
Training
Training the vine is quite simple as it grows I simply wrapped the netting around the vine in the direction I wanted it to go. The vine has tendrils that will also help it climb and secure itself.
I continued doing this until the vine hit the top of the teepee trellis and then simply let it cascade down on its own.
This trellis help keep the vines under control and had the added benefit of allowing the plant to access the sun a little earlier and later in the day when the fence was shading the rest of the garden.
Harvest
You can tell when cantaloupe is ripe when the colour of the rind turns yellow, tan or cream coloured. If it is still grey or green and has smooth skin it is not ripe. The melon should also smell like a melon and has a sweet aroma and when you lift is and gently twist it should fall off the vine.
Water melons are much easier to tell when ripe. Usually the fruit is ripe when the last tendril closest to the fruit dries up.
Frost
Every year the first frost marks the doom of warm weather crops like melons. You can however protect your vine quite simply by using the tee-pee to lay a blanket over. Once the frost has past in the morning you can remove the blanket.
Storage
If you have picked the fruit a little too early you can store it in the house for a week or so in a non-refrigerated area and it will continue to ripen.
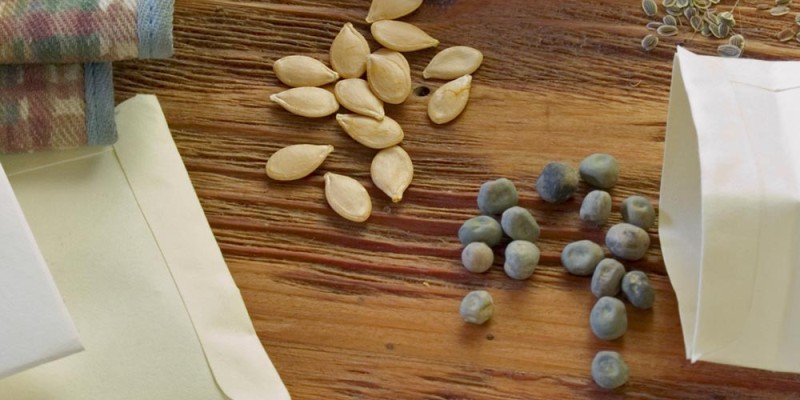
Seed saving
As this is the first melon I have successfully been able to grow I will take seeds from the best fruit of the year and save them by removing any flesh and air drying them on a paper plate. After a few weeks I will store them in a paper envelope in a dry dark location for next year.