)
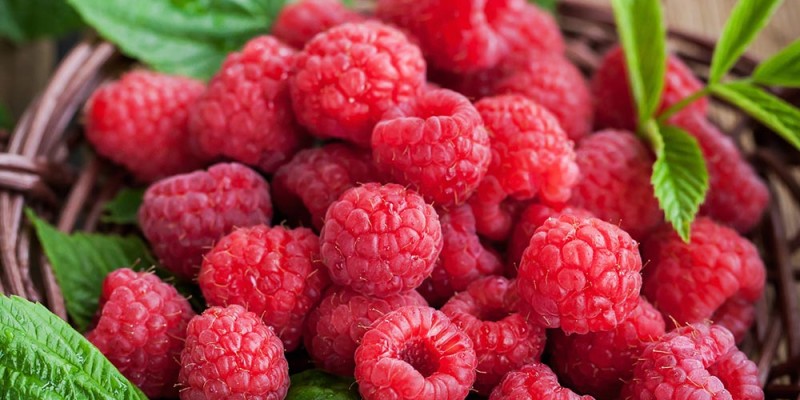
This week I show you how I make wine with raspberry rhubarb witch a pinch of strawberries. I am proud to say I grew all of the fruit for this wine! With the exception of some rhubarb my parents grew and brought down!
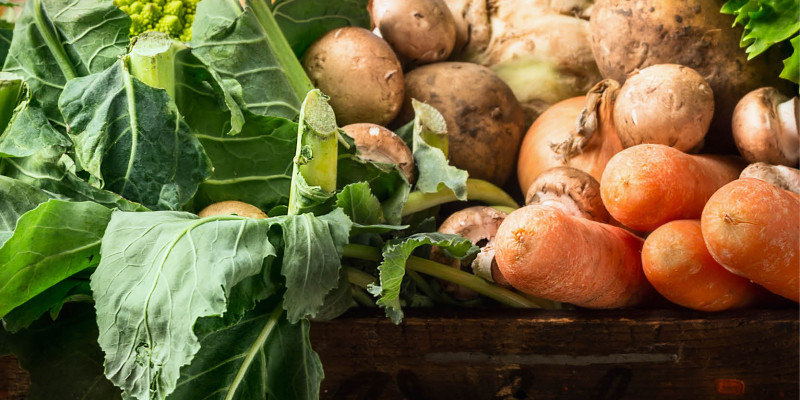
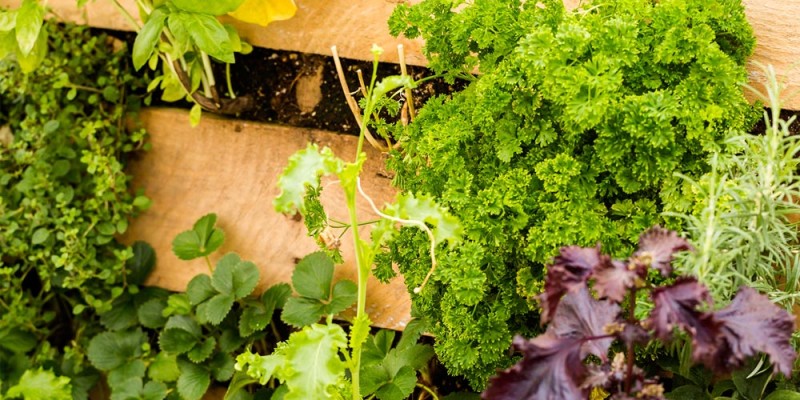
Brewing wine does not have to be complected or expensive. I am so very excited to grow and brew my own fruit! It took awhile for me to collect enough fruit from my garden to produce the wine. I harvested Rhubarb three times this year and raspberries as they became available. I recommend two this about working with Rhubarb. Harvest the canes as early as possible as they will have more sugar in them and only harvest your rhubarb twice during the year. My plant did not produce much of a plant after the third harvest and was susceptible to slugs. While I dont doubt the plant will recover and produce this year it probably wont do as well as if I had left that third harvest on there.
Freezing the fruit allows the cells to burst and more juice to be available for the wine.
Below is the recipe I used this year. It is important to note that I have scaled everything up based on the volume of fruit I had.
Please note cleaning and sterilizing your equipment before use is a KEY in producing a consistent and good product.
Rhubarb Wine recipe 2013
19 liters or 5 gallons (approx 30 500ml bottles)
5.66 kg or 12.50 lb Rhubarb (cubed)
19 liters or 5.00 gallons of water
5.66 kg or 12.50 lb White granulated sugar
5.00 ea Campden tablets
5.00 tsp Yeast nutrient
1pk Montrachet wine yeast
Starting specific gravity should be 1.090-1.095, Acid .60%.
1. Clean and cut up rhubarb and raspberries and put in freezer bags. Freeze until ready to use for brewing.
2. When ready for brewing place frozen fruit in primary fermenter and weigh. If the fruit weighs more then 5.66kg or 12.5lbs you can either leave it in the batch and split the batch at step 6 or move additional to another primary fermenter and begin a second batch.
3. Pour dry sugar over the frozen fruit. Cover with plastic sheet and allow to stand 24 hours.
4. Add the the water (bottled is my preference over tap water). Add 1-2 Campden tablets per gallon (3.7 Liters). Mix well and wait 24 hours.
5. Add the remaining ingredients including yeast, yeast nutrient ext.. Cover again loosely with a cloth or lid. let stand for 48 hours.
6. Stir and transfer liquid content from primary fermenter to carboy. If splitting the batch attempt to distribute equally. if you have a straining bag using sterile gloved squeeze the bag to allow the remaining fruit juice out. IF you do not a colander and metal bowl can work to complete the same thing. When finished you can top up the carboy if you wish.
7. Seal the carboy with a stopper and blowout tube. It is not recommended with fruit wine to use an airlock. The pulp from the fruit can cause blow outs. Place one end of the blowout tube in a red solo cup half filled with sterilizing agent. The other end in the stoppers hole.
8. Rack the carboy after 3-4 weeks to help clear the batch of sediment. If desired you can rack again after 3 months.
9. When the wine has cleared you can bottled. Prior to bottling you can add campden tablets to stop the yeast however I choose not to.
10. You may sweeten if required. You will want to use the campden tablets prior to adding any additional sugar. You can use white sugar, brown sugar, honey or any product that adds sweetness.
11. Age for 6-9 months following bottling. The flavors will greatly benefit from the aging. if you use corks store bottles on the side to prevent drying out and cracking.
If you would like to see how I did it this year please check out the following video!