In most of the lower growing zones it’s nearly time to start your tomato seedlings indoors to get
a head start on the season. Today I am going to give you some tips and tricks to get the most out
of your tomatoes this season without having to spend a lot.
1. When do you start?
Starting seeds too early is a common affliction almost all gardeners suffer from. It’s a fine line
getting an good head start on the season and putting a plant through too much transplant shock
resulting in losing too much of your season.
Here in zone 3 I can’t really afford to lose too much time over transplant shock. I start my
tomatoes in the third week of March. This gives me enough time to get them started without
them getting too large inside.
If you are not in Zone three then you will want to find two pieces of information. The first is
your last expected frost date. The last frost date will let you know the earliest you will be able to
get your plants outside.
The second bit of information you will need to find is when you should show your seeds. You
can usually find this on the back of the seed package or if you don’t have a seed pack there are
plenty of online resources that will help you.
2. Save your own seeds:
Now that we know when to start our tomato plants its time to find seeds. In the fall I took some
of my favourite tomatoes and saved the seeds. I have been on a hunt to find my favourite
tomatoes and last year finally found them. So I decided to save my own seeds and it was very
simple to do and it saves you some money.
If you do plan on saving your own seeds its important to know if you have an open pollinated
variety. Open pollinated varieties are more likely to have similar features in the fruit from year
to year however they tend to evolve over time and change characteristics. This is due to the
chances that a different variety of tomato may pollinate your crop.
F1 or closed pollinated varieties may end up producing tomatoes in the next generation that may
not be similar to the ones you saved the seeds from. If you are alright with that then have at it!
If you don’t have seeds make sure to order or trade for them a few weeks in advance to give them
time to be mailed. My favourite place to get new tomato seed is Baker Creek Seeds at
rareseeds.com. They have a wide variety of heirloom seeds with great descriptions.
3. Chose appropriate varieties for your growing zone and garden location:
We have all dreamt of that 2 (~900 gram) pound tomato however some of our gardens just are
not meant for them. With short seasons or gardens that get a little more shade small or medium
bodied tomatoes are probably your best bet for an abundant successful harvest.
I have a 100-120 day season so I select seeds that are 90 days to harvest or less. This gives me
the best chance to harvest the tomatoes while out running the first frost.
4. Next its potting size.
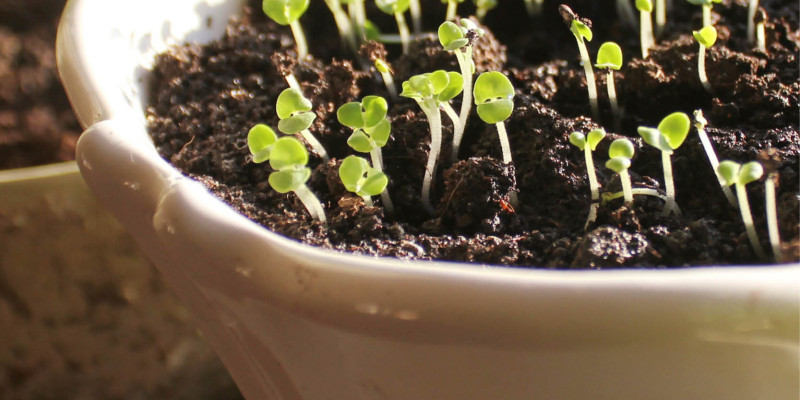
Now that we have the seeds and its time to plant lets pick a container. I generally start with
smaller containers and move to the next size of pot as the roots start to show up along the sides
of the container. I repeat this generally until I get to a pot size of 1- 2 liters (1/2 US gallon).
When I repot the tomatoes I place the plant right at the bottom of the new pot and remove the
branches and leaves that will be below the soil level. Tomatoes will put out new roots from the
main stalk.
A larger deeper root system will help the plant have access to more nutrients and water. This
will help you conserve water in the summer again saving you money.
5. Growing indoors.
If you have a south facing window you can grow your seedlings there and rotate them every few
days to keep them from leaning.
If not CFL bulbs from any major box stores will do a great job. I try to keep the tomato
seedlings as close to the light to avoid the plants from getting too lanky.
6. Watering and fertilizing
Generally I recommend watering from the bottom. This helps keep insect and disease problems
down while encouraging the roots to push to the bottom of the container.
I use a soil mix made of 1 part absorbent soilless potting mix and 1 part compost or vermiculture.
This mix provides more than enough nutrients to the plants while they are growing inside. If you
notice any changes in leaf colours its most commonly a deficiency in Nitrogen Phosphorus or
Potassium. Giving the plants a weak organic fertilizer and you should notice an improvement in
the new leaves.
7. Hardening off.
Once the threat of frost has passed, wait two weeks before planting your tomatoes outside.
During this time you will want to slowly move them outside and into more direct sunlight.
Make sure not to just toss them in the garden.
The strongest grow lights and the best glass are still no match for the unfiltered sunlight. Start
by putting your tomato plants in a shady spot and every day give them a little more direct
sunlight. This is called hardening off and usually for tomatoes takes me 2 weeks.
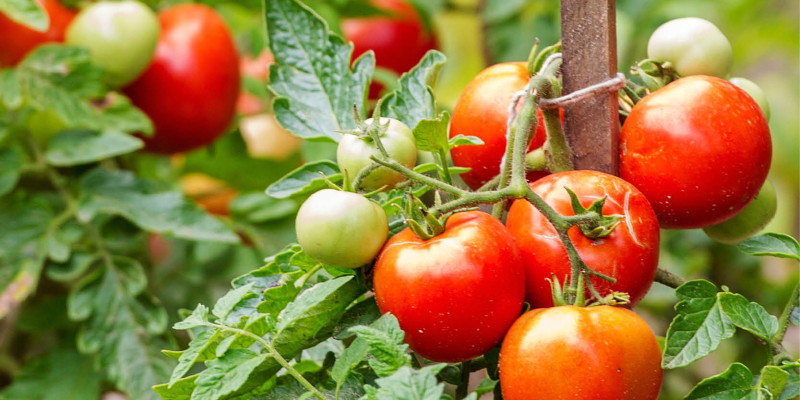
8. Planting
Your there you did it! Its time to plant your tomato in the garden. If you can plant them good
and deep to get the full benefit of all that hard work you have been putting into them. Don’t
worry if the plant looks small the extensive root system will allow for speedy growth and great
production.
If you can’t you can plant them deep a trench will get a similar benefit.
Do you have tips and tricks that help your tomatoes get off to a great start? I would love to hear
about them!