Growing indoors is a great way to pass away the winter months while still enjoying the fruits of your labours. The best part is it does not have to be complicated or expensive. On today’s episode I am going to go through setting up a two tiered growing area under a window and finally how much I spent on the project.
Floating Shelf Construction
If you have access to a south or southwest facing window (North or Northeast if you are in the southern hemisphere) you can use something like a bookshelf you may already have laying around the house or build a temporary structure as I did in years past. That said as I grow indoors most winters I am going to invest in a permanent structure.
I have built one under the window and a second shelf below to double my grow space.
For this project I have purchased 6 L-brackets to support the shelf on the wall. There are cheaper ones however we decided to go with ones that look a little nice as the grow space is highly visible.
The next piece is the shelf itself. For that we picked up two panels of laminated lumber that are just about the length of the window.
As there is no stud in the centre of my window I have also purchased drywall mounts. If you are going to do the same I recommend getting the highest weight rated bracket as once the plants soil and water are on top you don’t want them to fail.
You will also need a measuring tape, pencil, level, stud finder, and drill.
For this build I will be using the length of the window as my growing area. As such I will measure the width of my window mark the center and ensure the line goes all the way down the wall using the level to keep it true. This will mark the location of the center bracket.
If you have a stud finder locate the studs under your window. It will greatly improve the strength of the shelf if the brackets are secured to studs. Find and mark them as they are usually quite thick around the edges of the window.
Trace the shelf on the wall. This will set your height for the brackets below.
Now that you have traced the shelf line make sure you offset the bracket on each side of the window the same amount. This is important as it will evenly distribute the load preventing future failures.
To install the bracket install the first screw and using a level mark and install the second screw. It is important that the brackets are level.
For the remaining two brackets I use the shelf and a level to set the height for the other brackets.
Once all three brackets are installed mark and match the center line on the window with the center of the shelf.
It is now time to make sure the shelf is level. In my case it is level from left to right but not front to back. In order to fix this I have installed shims between the bracket and the shelf near the back. I find paint mixing sticks are wonderful for this. Pre-drilling will help prevent cracking.
Once the shelf is level you can secure the brackets to the shelf.
Once I had the first shelf up I repeated the process for the bottom shelf. As the bottom shelf does not have the free and renewable light from the sun I will have to install some grow lights. On next week’s episode ill talk about how to pick your grow lights.
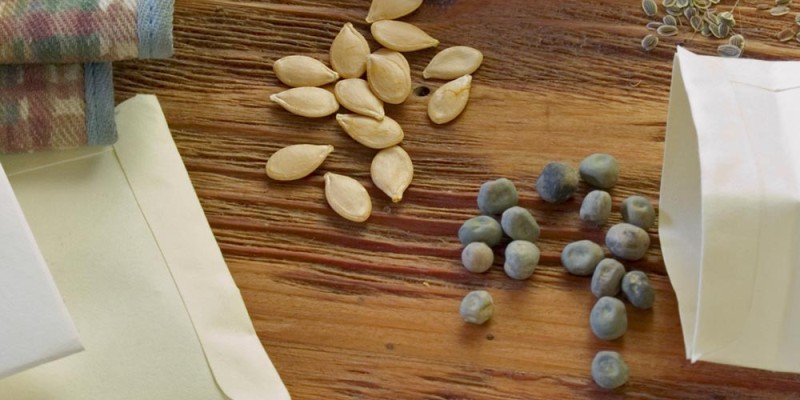
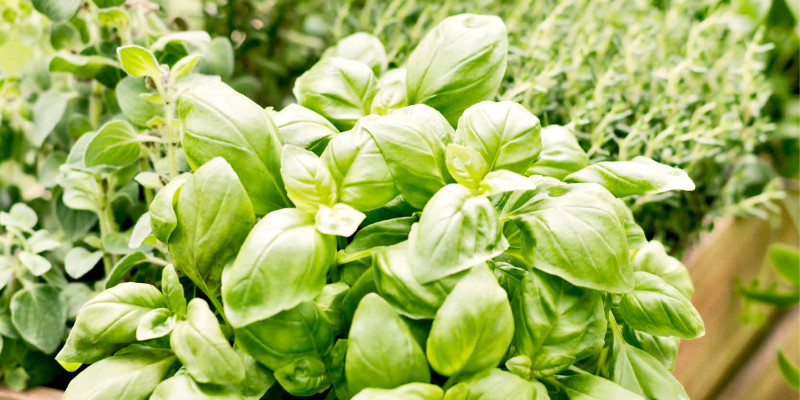
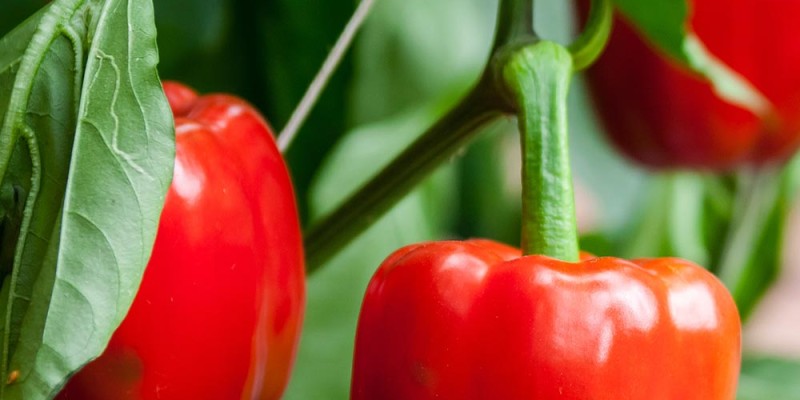
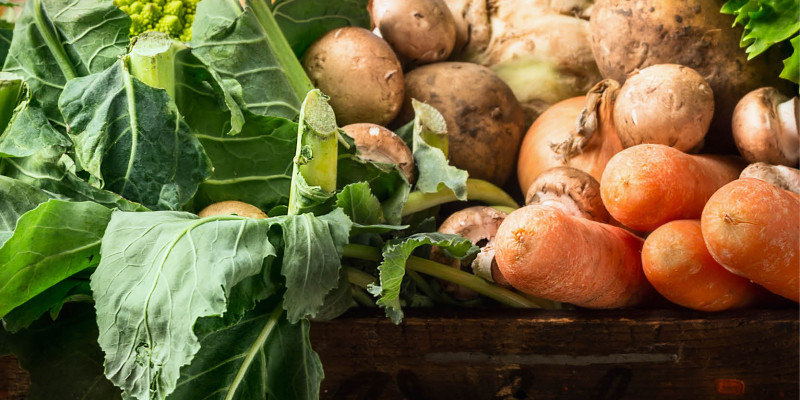
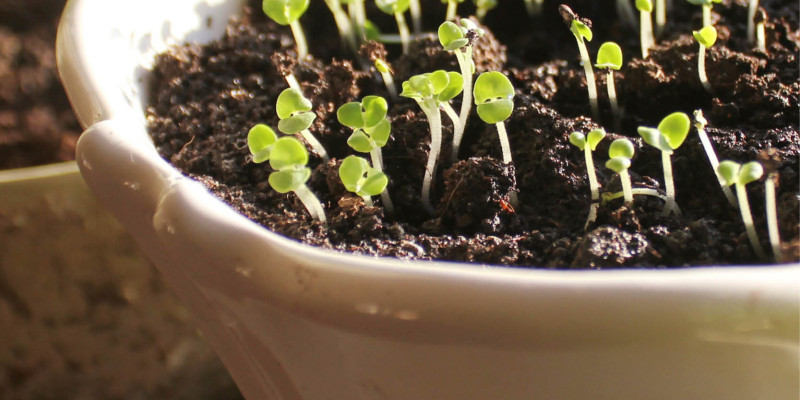
With the finished grow station all I need to add now is trays, containers, soil and seeds to start this years indoor winter garden.
Project Costs
Excluding the light costs which we will deal with in the next episode the total project cost. The 6 brackets I required cost a total of 53.88 Canadian Dollars, the shelf’s cost a total of 29.66$. The drywall mounts we had from another project however the 4 required for this project cost roughly 1.00$. This bringing the total project cost to 84.54.
If you select more basic brackets or use something like fence boards the total project costs could be reduced. For those of you in the United States from a quick look online the equivalent products cost about 50% of the total price in Canadian Dollars or 42.27$ USD.
Conclusion
The double shelf should be able to handle roughly 32 plants. 32 seedlings at a cost of on average 3 to 5$ a plant will produce roughly 96$ to 160$ worth of plants recovering my costs in the first year.
Now that we have the grow station all set up it is time to get lights for the bottom shelf. On next weeks episode we will go through how to select and install these lights.
If you would like more information on the different light types out there check out this episode where I explain the differences between LED, HPS and Florescent lights.
Indoor Growing Playlist:
Grow Lights Explained CFL LED and HPS:
Light Colour to Kelven rating:
[1] http://www.usa.philips.com/e/led-lighting/warm-white-led-lighting.html