If you have been following along last year we decided to try pruning hot peppers. The end goal of this was to produce a pepper bush that would not only produce heavily but quickly.
In this episode we are going to go over how to prune from start to finish and when to start this process.
We started the seeds for the peppers in peat pods on September 20th and potted them on October 7th . Growing them under standard CFL shop lights for most of the winter they grew very well. Watering was done by adding the water to the tray below them and allowing the soil and plants to wick it up as need be. This promotes deep root development and keeps pests such as fungus gnats down as the surface of the soil is very rarely wet. It also helps keep the leafs dry which again assists in keeping potential pests away. Watering is done when the pot is light when picked up. Typically this is on a weekly basis in my home however that will vary based on plant size and humidity in the home.
The first pruning was completed on November 16th. This was the first time and we clipped back to right above the first two true leafs. This caused the peppers to send new shoots from the growth nodes found at the leafs essentially creating two new main growth tips.
The following pruning sessions happened when the plant was getting to large, wanted to flower or had too many branches crossing the center. on average every 3 to 4 weeks. December 7th, January 11th January 22nd March 28th
Finally in April we hack back one more time to bring the plant under control.
By spring the peppers were too large for the CFL grow lights and were moved to a south west facing window. Although in the natural light for a few weeks we needed to adjust them to being outside. The sun is much stronger then any grow light today. We hardened the pepper plant off by slowly adding more direct sunlight once the threat of frost was gone.
Two weeks after starting the transition to outside we planted the peppers in their final home. They were put directly into the main garden beds to allow the plant the best chance to grow. The spot was selected based on the maximum exposure for direct sunlight and heat.
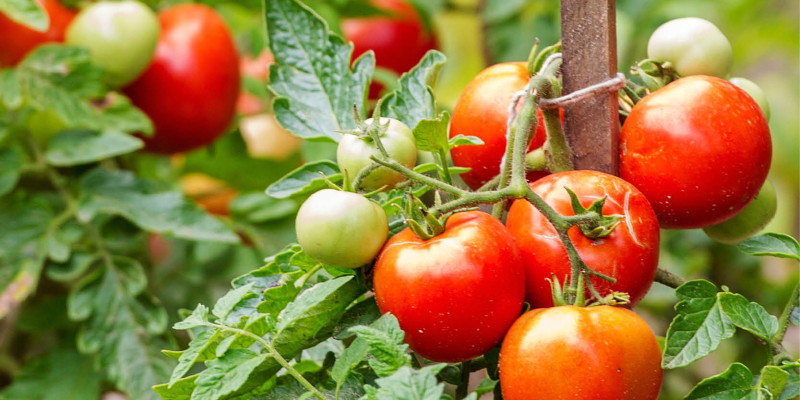
4 weeks after planting we were harvesting our first peppers. Continuing to harvest a few every few days as they became ripe. At the end of July we pulled in the rest as they were all ripe. In all we were able to harvest just over 50 super Hungarian hot peppers well ahead of any of the rest of the peppers in the garden.
The plant should produce one more smaller crop before freeze up adding to the rewards of this project.
If you live and grow in low zone areas of the world I do not recommend pruning the plants once you have hardened them off and moved them outside. This may stunt their ability to produce fruit for you and will negate any benefits of the pruning. The exception is growing zones with long enough season to accommodate the recovery and growth. Areas such as the Southern US or Tropical Australia fall in this category.
Peppers will branch off by them selves once they hit maturity marked by the flowers coming out. You can continue to prune them to shape and strengthen the plant.
Some of the added benefits of pruning is not only a quicker larger yield as I mentioned before but the plant is much more stable. These peppers were not pruned and are doing fine however they would not be able to hold the same volume of crop as their pruned sisters.
Moving forward based on our experiences in the past I will start my peppers on December 1st based on a last frost date of May 5th. You may want to adjust the schedule based on your last frost date. Every time I up pot to a maximum of 3-4 gallon 11 – 15L pot size I will bury the stem of the pepper lower. This will move the main root ball lower into the soil assisting with its ability to get water in the hot days of summer. Of added benefit new roots will come from the main stalk as well. I will do this no more then 2-3cm each time and avoid burying the first Y caused by the initial pruning.
Potting soil if available a potting mix of 1/2 worm castings and 1/2 absorbent potting mix is optimal. Things such as coconut coir and peat moss wick up the water allowing you to bottom water while leaving sufficient air in the soil to allow for good microbial growth. The worm castings are full of nutrients and growth hormones for the plants and beneficial microbes. If you happen to get a worm or two in your pot consider yourself lucky as they will continue to work hard to keep your soil and plant healthy.
I am going to aim for 4 pruning sessions pruning back to the last set of leafs on each main stalk each time. This will create a low center of gravity. Branches that are crossing back over the center and not growing away from it will be removed to prevent damage when the plant has fruit on it. Any leafs below the first Y will be removed in order to increase air flow and lower the chances of disease. Bottom watering will also help keep the plant healthy by not keeping the top soil and bottom leafs moist so disease vectors can not get established.
You know it is time to up pot them when the roots start to show out of the holes in the container. I recommend gradually up sizing the container to avoid watering and feeding soil that does not have roots in it yet.
The last pruning will be the beginning of March to allow at least 2 months to put on as much green growth as possible. I found with the lack of time to recover from the last pruning I did and setting fruit as soon as it went outside the plant did not get much larger once in the garden. The larger plant should be able to hold more fruit next year.
While inside you can fertilize using compost teas if you have them available. They not only provide easily available food for the plant but the micro-organisms that improve the soil and provide more available nutrients to the plant. If you do not have that available Organic fertilizers can be used. I recommend applying either on a weekly basis if watering is needed.
With the medium sized peppers I enjoy trellising will be required with the larger plant. I will likely use 3-4 bamboo poles attached like a tee pee to support the plant while it fruits.
When I select the spot for the pepper bush next year I will again look for a location with the maximum exposure and heat. Peppers are summer crops and require full sun and warm soil temperatures. I will make sure not to plant them around things like indeterminatnt tomatoes that are shading this years pepper plant.
Finally feeding. When the pepper bush sets fruit it needs to be fed. Healthy soil and mulch layer combine with compost tea and extractions I found have been the best way to do this. In order to keep up with the large demand I doubled my application rate to twice a week.
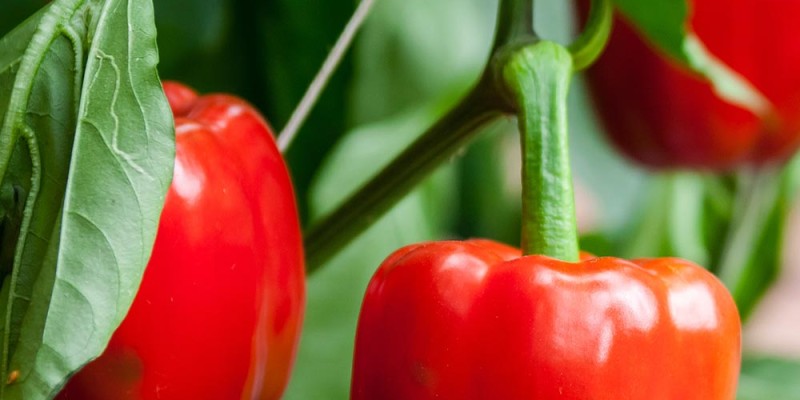
Most peppers will change colours when fully ripe. When fully changed is when the pepper has the maximum nutrients and heat. I chose to harvest when the peppers are starting to change colours so I can harvest earlier and try to squeeze in a second crop in the year.
In order to save your progress from the last year you can over winter peppers. Pruning them back down to the main structure in the fall and treating for pests that once inside may cause issues is a must. I will not be doing that as I chose to plant mine directly in the garden bed and will likely try this with another variety this winter. over wintering pepper plants inside can be a bit tricky so I recommend doing your research before attempting.
Finally pest management inside is something you will need to keep an eye on. Outside in your garden for the post part there is a healthy community of pests and predators that keep each other in check. Inside with out the predators the pests can take over. If you do develop a pest problem there are a number of organic ways you can treat. I typically start off with manual removal and move up from there.
If you would just like to get a jump on the season this can be boiled down to a one prune method starting your seeds roughly February 1st before the last frost date with one prune and recovery time before moving them outside to harden off.