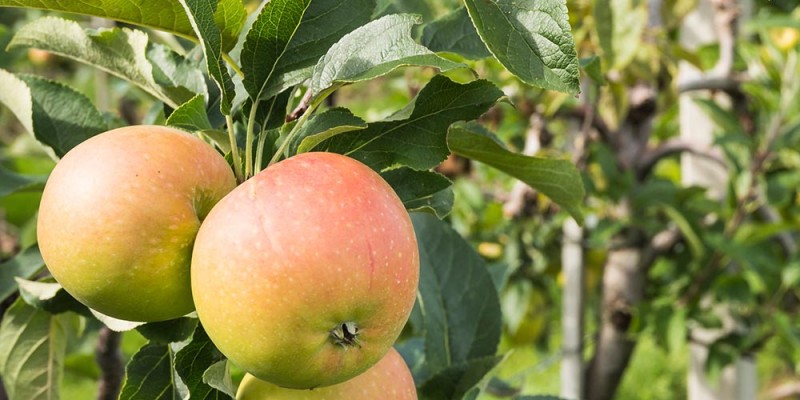
It is the middle of August and the early ripening apples are ready in Alberta. Generally you can tell when apples are ready when they come off with a light touch and or taste sweet.
Unfortunately you can also tell when large numbers of apples fall off the tree by themselves. This leads me to a problem I would like to help solve. There are many fruit trees this time of year with piles of fallen and rotting fruit at the base. When have spoken the trees owners they often just cant use the produce or cant harvest it.
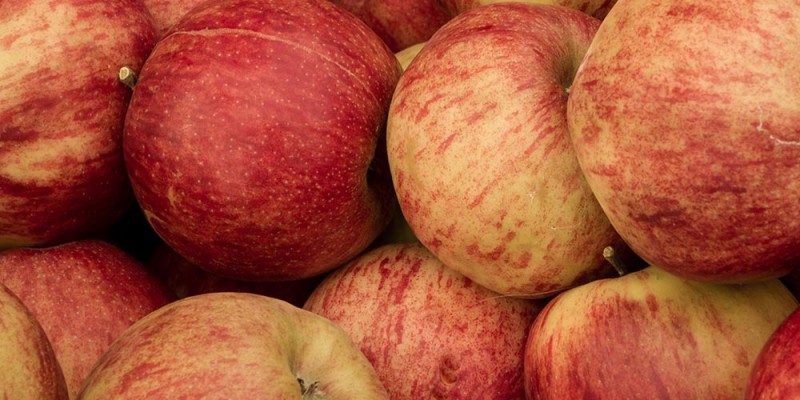
Inspired by groups like Operation Fruit Rescue out of Edmonton I went to social media looking for apples to rescue and wow was I surprised with the immediate response.
So I went collecting apples as fast as I could. With so many apples that don’t have a long storage life my solution was to make cider.
At the suggestion of my father I found a working antique cider crusher and press or a Cider Mill. As luck would have it last month I found just the piece all the way in Southern Ontario.
The mill I found was restored by a fellow named Lorne whom had rescued it from an antique shop. Using reclaimed lumber from a neighboring Victorian Farm house he painstakingly resorted it to working condition over a 3 month period.
My parents were in the area and were kind enough to drive it 4500km or 2800 miles to Alberta. I now could process the abundant amount of fruit I have collected.
Once I got the mill home, installed in my shed and thoroughly cleaned I took some time to research the piece. As it would happen the cast Iron pieces were cast in 1866 making them 149 years old… that is older than the confederation of Canada!
I will continue to research this peace as I want to know the full history of my press.
Before I started to use the cider mill I made sure to lubricate any of the moving parts with vegetable oil. Vegetable oil is food safe so if it falls in your cider it won’t harm anything but it also works as a great lubricant that is not likely to cause rust issues while preventing damaging friction.
When using apples to make juice or cider you first have to crush the fruit. The first few years I did this using a cold press juicer. The trouble being it was electric, had a small opening requiring you to cut the apples up, required clean outs often and it did not do a great job getting every drop of juice out of the pulp.
The mill can do the same work, that took many nights with the juicer, in a matter of an hour. After installing a temporary hopper I simply loaded whole apples and turned the crank. The crusher works by spinning tines that grab the apples and mash then through a set of blades. Once the chunks have gone through that there is a set of cogs below that mash them further before dropping them into the barrel.
The barrel has two cast iron rings held together by oak slats with small spaces between for the juice to flow out of. Make sure to line the barrel with cheese cloth to help prevent the apple mush from escaping. You can get long pieces of this cloth at a fabric store and re-use many times by washing it in a light bleach solution and air drying before re-use.
Once filled it is time to press the mush to get our juice. Just under the weight of the mush just began to flow already. Place the receiving container below the collection tray prior to beginning to avoid missing any juice.
Before pressing fold the cheese cloth over the top and then place the insert on top. The insert will nearly completely fill the internal space of the barrel keeping consistent pressure on the mush.
Now turn the screw until the juice flow quickly or the resistance increased so it could not easily turned.
Once the juice slows you can turn the screw again increasing pressure and releasing juice. Repeat this process until you hit the end of the reach of the press. Often I will press and come back an hour or two later.
It is now time to use hard wood blocks to help extend the presses reach. Making sure to keep them centered using two for each level alternating their direction between levels.
Continue pressing until the juice stops or you no longer have enough reach.
With any antique or new piece of equipment take care to listen and watch for signs of stress. You don’t want to break your equipment for an extra few milliliters of juice.
If you leave the press down over night you will be able to collect the last of the juice. If you do however the juice may attract unwanted insects and apple flesh and juice may dry on the mill making it tougher to clean afterwards.
You now have your juice which I have stored in a primary fermenter as mine is destined to become hard apple cider. I will put a link at the end of the video to the video where I show how I make Hard Apple Cider with Alberta Apples. If you are drinking it as just it should keep in the fridge for a day or two.
The mush can be used in your compost when your done juicing it. Make sure to cover it as hornets and wasps will be attracted to the scent.
Once you are done it is important to clean the cider mill. Cleaning it will help keep it in working order for generations to come.
Before I put the mill away for the winter I will give it another cleaning and oil the wood using something like walnut oil this will help preserve the wood over our long dry winters. After I finish this Ill use a breathable drop cloth to cover it and prevent dust from settling on it.
This year I processed enough apples to get 4 batches of Hard Apple Cider. Each batch took about 100 liters or 26 gallons of apples to produce 22 liters or 5 American gallons of juice. This year’s pressing took just under 3 days with no more than 3-4 hours each day. Even better I was able to do that with an antique that is 149 years old while rescuing a lot of fruit.
This is just one way to make sure the food produced locally does not go to waste. If you have spare crops or would like to help people with theirs make sure to look for local groups like Operation Fruit Rescue here in Alberta.