Today I am going to go through building and filling your first raised bed. I am also going to keep the project as cost effective as possible.
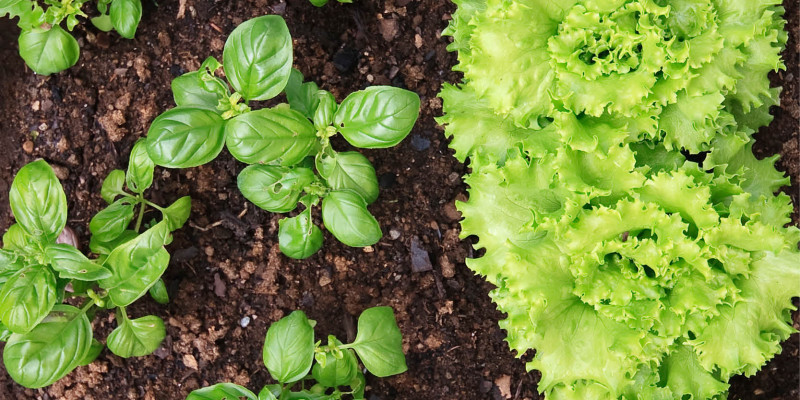
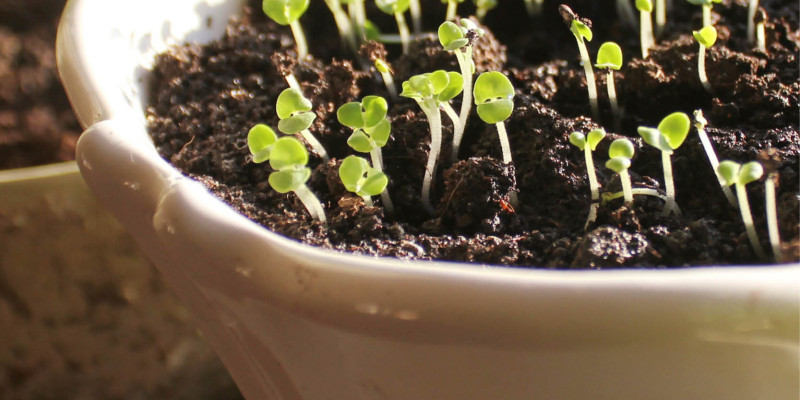
So far in the Urban Garden Series we have made our plant list, started seedlings indoors and even planted some of our cold hardy crops outdoors in my raised beds.
Raised beds are a great way to garden and with an small investment in a bed this size you can grow food for years to come while helping to save your family some of your hard earned money.
Where do you place your raised bed.
Location is important when selecting an area to build your raised bed. Generally I look for an area on the North or East side of the property (reverse this in the southern hemisphere) of the property with few obstructions. Avoiding areas with trees or ponding water when it rains will help as well. I will put a link at the end of this video and in the description below to a clip where I go into much more detail on raised bed gardening for beginners.
How to build a cheap raised bed.
Raised bed designs come in many layouts with some being very simple and others quite complex. As I have mentioned earlier in this series I am working to not only help this family grow more food at home but I want to see if I can help them save money as well. So today I have selected a simple design that is cheap to build and I have used successfully over the years.
Materials list
For this project I am building a 4 foot by 4 foot or 1.2 meter square raised bed that has a depth of 12 inches. The reason I selected 4 feet or 1.2 meters is if you have clear access all the way around you should be able to reach every area in the garden without having to stepping on the soil or raised bed.
12 inch or 30cm depth will allow you to put 8” or 20cm of soil and is enough soil for most crops and leave space for future applications of compost or mulch.
You will need
Four 2”x6”x8’ boards
Cardboard
Garden soil
Screwdriver
Drill,
Screws
Measuring Tape
Level
Pencil
Square
Shovel (uneven ground)
After you have selected the area you want to build on make sure it is relatively flat a little slope will help with drainage but a large one may require some digging to even out the frame. There is no need to remove the grass underneath as we will mulch that after.
As I have 8 foot or 2.4 meter lengths of wood Ill cut them in half first. Measure the length of the board as they are rarely exactly the length. Often they are a half inch longer than advertised. Mark the centre and I find it easiest to mark a straight line with a square that has a lip on one side.
Cut your side panel boards the desired length.
Pre drill two or three screw holes with a bit that is slightly smaller in width then the screws you are using. Pre-drilling will ensure a tight fit while helping prevent your lumber from cracking.
Line the top and side of the board and install one screw per corner. Repeat this process until all four corners of the first lift are in place. Leaving only one screw in will let the frame shift into its new place. If you need to make adjustments to the frame now is the time.
Once you are satisfied drive home the remaining screws on each board.
repeat the process for the second level but add a tacking screw to attach the first level to the second. Pre drilling is very important for this one.
For further strength you can use a scrap lumber in the corners either on the inside or outside.
For this build I have selected to use untreated pine as it is the cheapest lumber available in my area. This raised bed should last 6-7 years before the boards rot out. If you live in an area with higher humidity you likely will get less use out of it. If you wish to use pressure treated lumber to extend the life of the bed that is more than fine. On screen is a link to a video where I evaluating to see if pressure treated wood is safe to use in the garden.
Using mulch to kill off grass and fertilize your soil.
Before you toss any soil in the bed it is time to smother out the grass or any other plants below. For this I have salvaged some cardboard. Lay down a thick cardboard layer making sure to cover the native ground. Over the season any plants below will die and decompose. During that time worms will be drawn to the area and degrade the cardboard. Over the long term this will allow deep rooting plants to take advantage of the top soil below and bring worms into your new soil helping to fertilize your plants, aerate your soil and leaving behind humic acid and plant growth hormones all of which will benefit your vegetables and fruits.
How to cheaply fill the raised bed
Now that you have your frame done and mulched the bottom it is time to fill the raised bed.
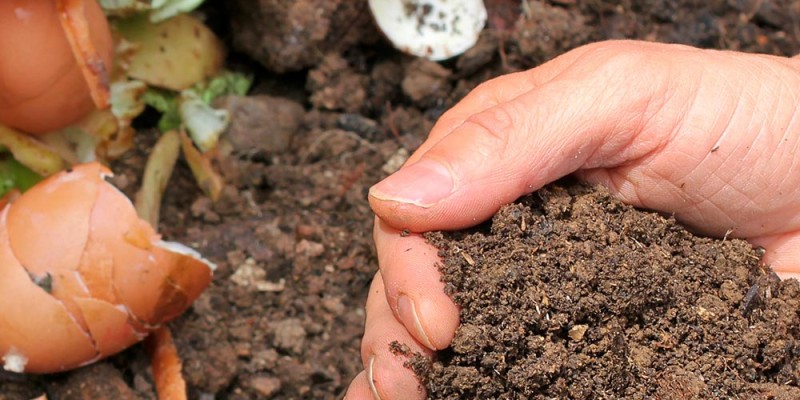
If you have a bed with more than 8 inches or 20cm depth you can fill the bottom with undecomposed organic material. Things like autumn leaves and kitchen scraps like egg shells and coffee grounds are perfect for this. Not only will it help you fill the bed but will further attract worms and provide long term fertility to your soil.
It is important to make sure undecomposed materials are below 8 inches or 20cm in depth. Any shallower the nutrients your plants need during the growing season may be tied up as the material decomposes.
Most new gardeners don’t have access to homemade compost and even if they do you might not have enough to fill raised beds.
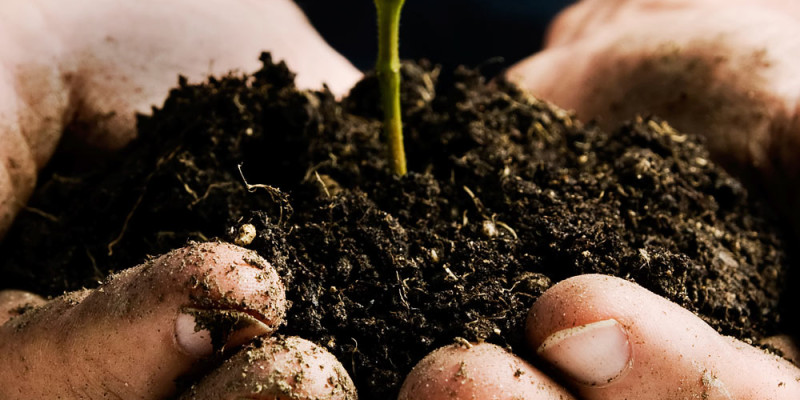
The soil mix I am going to use today is not only an effective mix to get you started but is cheap as well.
I will be using 1 part soilless potting mix and 1 part bulk compost. Depending on which is cheaper you can shift the mix to 3 parts the cheaper mix and 1 part the more costly. This mix will hold moisture but be free draining while providing nutrients for your plants.
Soilless potting mixes are often made of things like coconut coir which is the processed husks of coconuts or peat which in my area is a waste product often heading to landfill.
The compost source can be really from any source. Municipal yards usually have compost made from autumn leaves and grass clippings. Here in Canada that compost is required to pass safety checks making it perfectly fine to use in the garden. If you are uncomfortable you can find compost at big whole sale outlets made from vegetable scraps or waste from other industries such as forestry and fisheries. A general rule of thumb I follow when selecting compost if I can’t make it myself is to use the one that has the highest diversity in feed materials. It is much more likely you will have all the nutrients your plants need right away.
I try to fill the beds 2/3 full the first year this will take 6 cubic feet of material or 0.17 cubic meters.
Once filled and mixed give the soil a good slow watering and let it settle for a few days before planting. This soil mix should have all of the nutrients your garden will need for the first year.
Building Amazing Soil for Free using Mulch
In order to make sure I am returning nutrients to the soil as my plants take them I like to mulch the surface with free and local resources. By doing this I have successfully avoided the purchase and use of any store bought fertilizers further saving yourself money and often diverting these materials from landfill.
If you would like to see any of the videos where I go into more detail on any one of these topics I have put links in the description below including how to build a raised bed on a slope.
How much this project cost
This project cost 18.89$ Canadian for the lumber and 66.14$ for the soil and compost. The screws I reclaimed from another project. the total project cost was 85.03$.
If you have some salvaged lumber and have enough time to make compost you can certainly do this project for next to nothing. Over the course of the season the family I helped out will track what they harvest and I am fairly confident the project will pay itself off in a year or two helping them save money into the future while another child gets to learn how food is grown.
Related Episodes:
How to Build a raised bed on a slope:
Raised Bed Gardening For Beginners: Where to place your Garden:
Urban Gardening Series Playlist: Grow More Food at Home:
Build Amazing Fertile Garden Soil Using Mulch:
Turn Waste into Garden Gold using Worm Castings: