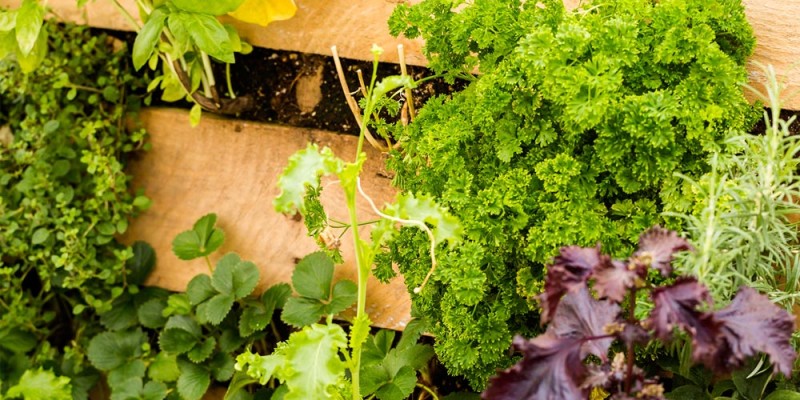
Growing in raised beds is a fantastic way to grow fruits and vegetables in the comfort of your back yard. That said you are restricted to grow along the ground unless you take advantage of the third dimension and grow vertically.
There are many plants like grapes, melons, cucumbers, beans and pees that can take over large areas if left on the ground chocking out their neighbours. But if given a trellis to climb or be supported by they can take over the area they need to prosper while allowing their neighbours to thrive as well.
In my case I chose to grow vertically with a structure called a trellis. the term trellis is a very board term for a architectural structure that is mean to support climbing plants. They can be made of a wide variety of materials including metal wood and even plants such as the three sisters planting method where by climbing beans use the stalk of corn to climb.
In my garden I have used two types of trellis. The first I built off of my fence. I built it to permanently support my heirloom grape vines that I got from my grandfathers. This is a more permanent structure and cost a little more to make.
Today I am going to show to how to build a very cost effective one that I use for my annuals that can be moved quite quickly and simply.
Before we get started you will need some materials you can find at any large box store.
Today Ill be building a 1.2 meter or 4 foot tall by 3.0 meter or 10 foot wide. For this trellis you will need the following:
2x 3 meter or 10 foot 1.27cm or 1/2 inch galvanized electrical conduit and
2 corner brackets
With an optional centre support of 5 foot and a T bracket
2 x 1.2 meter or 4 foot 1.27cm or 1/2 inch rebar if you wish you can get coated however it is not required
finally vinyl tomato netting and zip ties. as luck would have it they generally come in 10 foot by 4 foot panels.
You will need a pipe cutter, drill, marker and painting tape to do this job.
measure the lengths of pipe. I use a marker to make the first mark and painting tape to ensure the measurement is all around the pipe.
The brackets will add length to the whole frame. If your restricted for space like I am make sure to remove the excess. The corner brackets I have add 1.5” and 3” for the T bracket.
Cut the first pipe in half to give you two 5 foot lengths. These will make the vertical supports. The optional centre support is the same length.
The optional centre bracket will require two more cuts. first remove the 3” the bracket will take up and then cut it in half.
If you are building the trellis to fit in a specific location make sure to dry fit everything in place prior to securing them together.
To attach the pieces together simply requires a flat surface and your drill. Make sure the pieces are as close into the brackets as possible. once you are sure hold firmly and use your drill to drive the screw home. be careful not to strip the screw.
After you have the frame together it is time to put the tomato netting on. a 4 foot wide netting is usually available at big box stores of your local green house. The reason I have selected a 4 foot tall for the trellis is it is strong enough to hold a 32lbs pumpkin I grew a few years back but it also means the tomato netting is all one piece.
The electrical conduit and vinyl as a materials are strong enough to take a lot of weight while flexible enough to not break while under weight.
you can tie the netting to the trellis using the lose ends however I chose to use zip ties. They are easy to use, hold well and are extremely strong.
The trellis portion is done now. Its time to install it in the garden. For this you will need the rebar and if required sledge hammer. Use the trellis to mark the location for the rebar. Place the rebar on the marked location and drive it into the ground. I usually sink it half way. This gives the trellis sufficient anchoring both above and below ground. If you would like a marker you can use the painting tape from cutting the pipe
simply place the pipe on top of the rebar. You won’t need to worry about any other support as the soil below your garden will keep the trellis up and the length above will be more then enough to keep the trellis up.
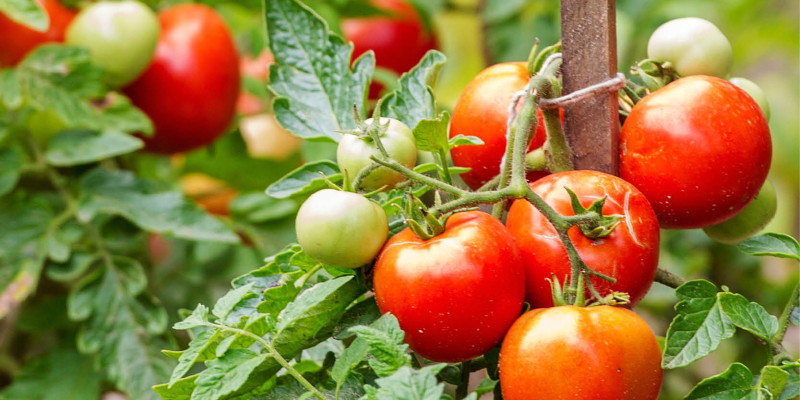
Plant your climbing crops or things that can be trained vertically at the base of the trestles. Things like peas and beans will climb on their own while tomatoes may require some effort to wave through and tie offs to the netting to keep it up.
This trellis is great for annuals and when fully loaded with crops in a storm will look as if they will fly off but don’t worry. they will stand their ground holding your crops. I don’t recommend using this style for perennials like grapes as the rocking is more likely to cause damage to their more ridged structures.
Further benefits of growing vertical include disease prevention increased access to sun among others. If you have a trellis and a favourite plant that grows on it I would love to see photos. Please feel free to post them on the Alberta Urban Garden Facebook page.