Its that time of year that people get inspired to start their first gardens. With all the information out there where do you even start? Today ill go through the basics in getting your first garden going starting by going through location selection, raised bed construction, garden soil and mulching.
Location location location! It is really important to make sure you place your first garden in a good location.
So how do you figure out where a good location for your garden is?
Although the summer solstice is still a few months away the sun this time of year is going to give you some hints of where to place your garden. This is less of a concern if you have a wide open area but if your in an city like I am there are plenty of things that can obstruct the sun.
on a sunny day take a three or four photos of you yard. This will let you know where the sun is hitting and where it is being shaded. If you dont have an area that in most of the photos is sunny take a look for structures, fences and trees to the south of the are in your yard that is the closest to the North of you property.
If your not sure where North and South are most smart phones have a built in compass.
remember that although structures on the south side of your yard are causing the shadow right now the sun will pass higher in the sky during the summer reducing the extend of the shadowing. So look for an area that is shaded now however when the length of the shadow is reduced in summer may become exposed to sunlight.
Another good indicator if you live in an area that is snow covered through out the winter is where the snow melts first. This is indicative of where the sun is able to concentrate its melting.
In my yard during the winter as the sun crosses the sky quite low and my house shades the garden most of the day however with the sun higher in the sky it gets 12-14 hours of direct sun.
optimally the area you pick should have a minimum of 6-8 hours of direct sunlight. With my short season more is better.
in southern climates closer to the equator you may in fact want to make sure you do get some shade as the summer sun is much more intense. From what I understand its best to select areas that shade part of the afternoon sun.
If at all possible place your garden as near to a entrance on an south facing wall of your home that has limited obstructions. If close to your door you it will be easier to enjoy your garden and the house will reflect heat and protect your plants.
You have now identified an area and your look for a specific spot. When selecting your spot make sure that it optimally has clear access all around it and has a slight slope away to provide drainage. Don’t worry if your yard has a slope like mine. You can still build a raised bed its just going to take a little longer.
if you are in the southern hemisphere make sure to flip the instructions for North vs. South.
Now that you know where to put your garden its time to decide how big of an area you want. I recommend starting with a 4 foot by 8 foot area or 1.2 meters by 2.4 meters raised bed garden. Most people can reach 2 feet or 60 cm and with the easy access on all sides you should be able to reach everywhere in the garden with out having to step on the soil.
Now that you have an area marked out and a size selected its time to figure out how you want to garden. I generally recommend new gardeners start with a raised beds.
I think it is important to have a successful first year in order to inspire you to continue this great hobby. Raise beds have a number of benefits over in ground gardening that just make it a little easier to have a good year. Some of the benefits of raised beds include better control of the soil, the chance for fewer weeds and the potential for fewer soil issues.
I do realize getting started does cost a little more but I personally feel its worth the investment. Moving forward raised bed gardening does not have to cost a lot.
its time to build your garden beds. around the perimeter of my garden area I have selected built them from 2 2×6 or one 2 x 8 or 12. I tried to use as much as possible reclaimed wood so the depth varies. All you really need is 6-8 inches of depth.
Raised beds are fairly easy to put together. here I have used a 4×4 post in the corner to screw the planks too. Again I try to source scrap material as much as possible. wood working corner brackets work fine as well.
in my main beds I used 4×4 and 4×6 posts. These are more expensive however as I dont have access all the way around the garden beds and I needed to be able to walk on the frame. The 4 inch surface instead of the 2 inch surface makes it easer and stronger. The posts are much simpler to attach together. you can simply pre drill and screw them directly to each other.
If you dont have access to reclaimed wood for your first garden go with the cheapest lumber at your local hardware store. here its pine. The pine wont last as long as cedar or other hard woods but it is cheap and as you learn and want to expand you may want to move or re-build anyways so this keeps your initial investment is lower.
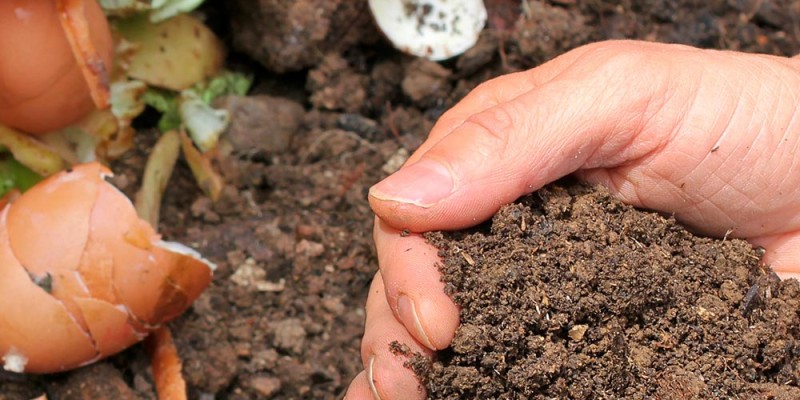
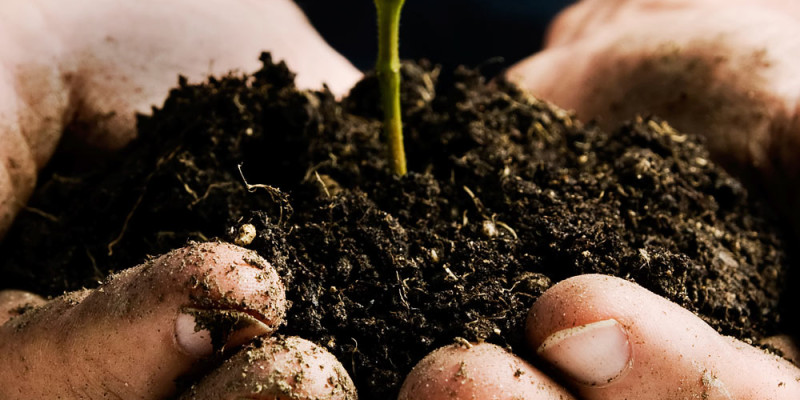
You have successfully built your raised bed now its time to fill it with soil. Before you do this make sure to put as much cardboard or paper as you can on the bottom as you can. If you avoid glossy print and tape it the cardboard will break down over time helping to kill off any plants and seeds below while feeding and drawing in local earth worms.
Dont just fill your brand new raised bed with any old top soil. I made this mistake when I first started gardening and it nearly lead me to quit as I had terrible weed and compaction problems resulting in poor harvests.
if you have access or have made your own composts this is the cheapest way to fill your garden beds. But most new gardeners have not been composting long enough to fill their new beds. unfortunately this is where the largest cost of your first years garden may come from. in order to keep the cost of filling your garden down I recommend the following garden soil mixture.
if you have a garden centre that sells compost in bulk this is likely your cheapest option. If you don’t have access to a truck I have used containers to transport soil in my car.
They often have whats called a garden mix however its usually the more expensive bulk product. I go with a mix of their house compost and a soilless potting mix at a ratio of 1:1 but 3:1 compost to soilless mix can keep the costs down.
Mixing in the potting soil helps to hold moisture and air while making the mixture lighter so that roots can easily grow through it. The compost will provide nutrients to your plants through out the growing season.
Fill your raised beds to nearly the top leaving a a little space for mulch. give it a quick water to let things settle in.
mulching is a practice where you lay organic material like fall leaves, used coffee grounds and wood chips on top of your garden soil. it helps retain moisture during the summers heat, keep weeds down, and as it breaks down it will draw in beneficial organisms that will provide nutrients to your garden.
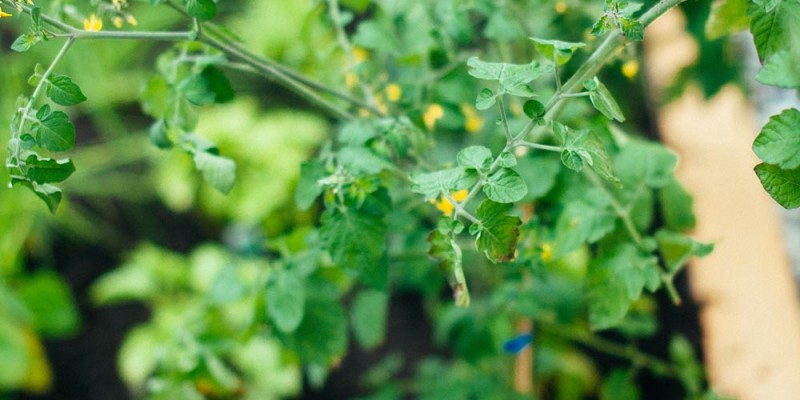
There you have it your done! You have built your first garden. Congratulations! Now its time to pick what you want to grow. I have some helpful tips in a video that Ill place the link to at the end.
If you would like more information on garden location, building raised beds and great organic garden soil I have put a playlist together that might help.
If you ever have questions wether you are a new or experienced gardener please feel free to ask. I will do my best to make sure I answer and encourage more experienced gardeners to help them out as well.